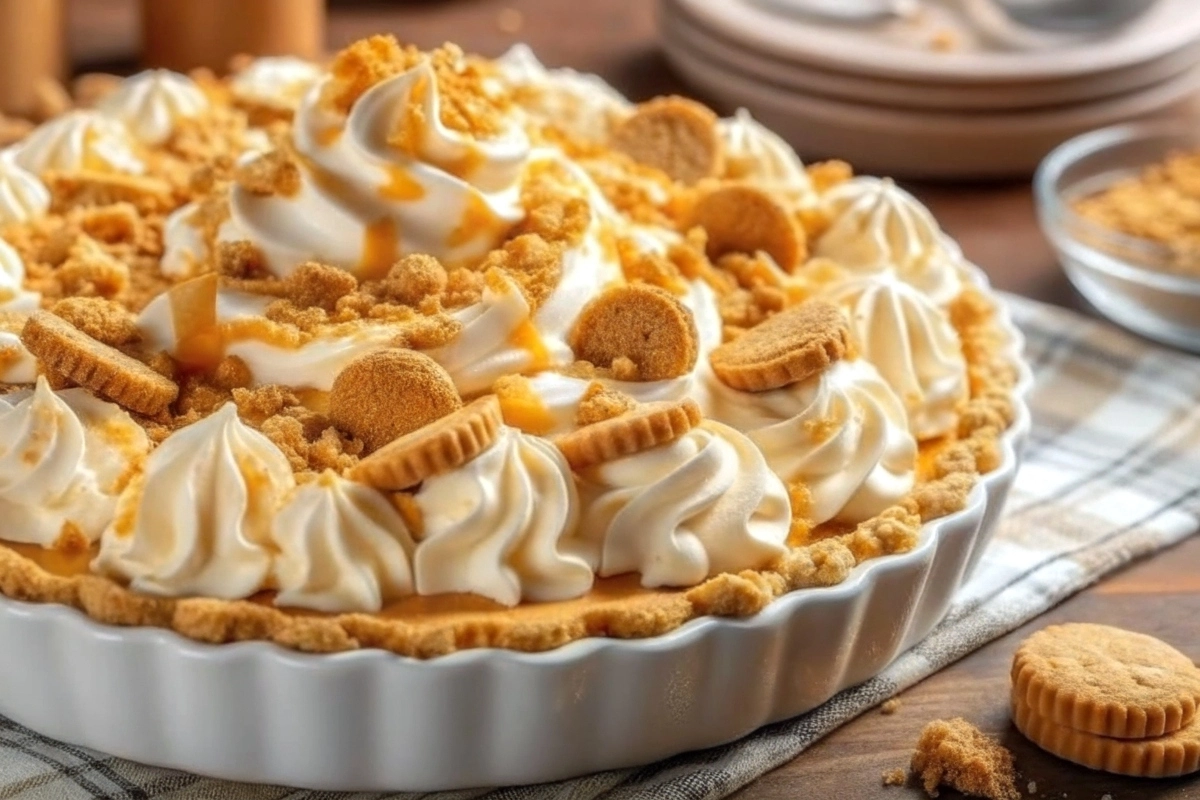
Nutter Butter Pie: The Ultimate No‑Bake Indulgence
Few desserts capture the hearts of peanut butter devotees quite like the Nutter Butter Pie. With its rich, creamy filling nestled in a buttery cookie crust, this treat has become a staple for gatherings, potlucks, and any occasion that calls for an irresistible sweet finish. Whether you’re a veteran baker or a kitchen novice, crafting this no‑bake masterpiece is surprisingly straightforward—and infinitely rewarding.
When it comes to perfecting your cookie crust, expert resources can make all the difference. Check out the Ultimate Pie Making Guide for pro tips on crust consistency, and explore these No-Bake Cannoli Pie techniques to ensure a firm, crack‑free base every time.
History & Origin of Nutter Butter Pie
The story of Nutter Butter Pie is inseparable from that of the famous peanut butter sandwich cookie. First introduced by Nabisco in 1969, the Nutter Butter® cookie quickly won over snackers with its playful shape and classic peanut butter flavor. As home cooks experimented with these cookies in no‑bake desserts, the idea of transforming crushed Nutter Butter into a pie crust naturally emerged.
Bloggers and culinary influencers began sharing their twists on a timeless peanut butter pie, swapping traditional graham cracker crumbs for crushed Nutter Butter® cookies. By the mid‑2010s, the combination had gone viral, celebrated for both its simplicity and its decadent payoff. Today, countless variations honor this origin story—yet most purists agree the classic no‑bake rendition remains the gold standard.
Ingredients You’ll Need
To whip up a show‑stopping Nutter Butter Pie, gather the following components:
- Crust
- 24–28 Nutter Butter cookies, finely crushed
- 5–6 tablespoons unsalted butter, melted
- Filling
- 8 ounces cream cheese, softened to room temperature
- 1 cup creamy peanut butter (or marshmallow fluff for extra sweetness)
- 1 cup powdered sugar
- 1 teaspoon pure vanilla extract
- 1 ½ cups whipped topping, gently folded in
- Topping (optional, but highly recommended)
- ¼ cup melted chocolate or chocolate ganache
- Extra chopped Nutter Butter cookies
- Flaky sea salt or mini peanut butter cups
Equipment & Prep
Before you begin, make sure you have:
- A food processor (or a sturdy zip‑top bag and rolling pin) for crushing cookies
- A 9‑inch pie plate or a 9 × 2-inch springform pan
- Mixing bowls (one large, one medium)
- An electric hand mixer or stand mixer
- Measuring cups and spoons
- Plastic wrap or foil to cover and chill
Tip: Position a rack in the center of your refrigerator ahead of time to ensure the pie sets evenly.
Step‑by‑Step: Making the Cookie Crust
- Crush the Cookies
- Place Nutter Butter cookies in a food processor; pulse until you achieve fine crumbs.
- Alternative: Seal cookies in a zip‑top bag and crush with a rolling pin until uniform.
- Combine with Butter
- Transfer crumbs to a bowl and pour in the melted butter.
- Stir until every crumb is moistened and holds together when pressed.
- Press into the Pan
- Evenly distribute the crumb mixture into your pie plate or pan.
- Use the back of a measuring cup to press firmly into the bottom and up the sides.
- Set the Crust
- No‑bake method: Chill in the fridge for at least 30 minutes to firm up.
- Quick‑bake method: Bake at 350°F (175°C) for 8–10 minutes, then cool completely.
Step‑by‑Step: Crafting the Peanut Butter Filling
- Beat the Base
- In a large bowl, whip softened cream cheese until smooth and fluffy.
- Add creamy peanut butter (or marshmallow fluff) and vanilla; beat until combined.
- Sweeten & Flavor
- Gradually add powdered sugar, mixing on low.
- Taste and adjust sweetness—some prefer a pinch more sugar for extra pop.
- Fold in Whipped Topping
- Gently fold whipped topping into the peanut butter mixture to maintain airiness.
- Stop when no streaks remain for a lusciously light texture.
- Add Texture (Optional)
- Stir in chopped Nutter Butter cookies or mini peanut butter cups for joyful bites.
Assembling & Layering
- Layer the Filling
- Spoon the peanut butter mixture over the chilled crust.
- Use an offset spatula to spread evenly and smooth the top layer.
- Add Creative Swirls
- For a chocolate swirl, dollop melted chocolate on top and drag a skewer in S‑shaped motions.
- Sprinkle extra cookie crumbs or chopped treats around the edge.
- Final Touches
- Drizzle remaining chocolate or caramel.
- Top with crushed Nutter Butter pieces and a sprinkle of sea salt for contrast.
Chill Time & Serving
- Optimal Chill
- Cover and refrigerate at least 2–4 hours; overnight yields the cleanest slices.
- Slicing
- Run a sharp knife under hot water, wipe dry, and slice in a single motion for perfect wedges.
- Presentation
- Arrange on a cake stand or dessert plate with extra cookies on the side.
- Garnish with fresh berries or mint sprigs for a color pop.
Creative Nutter Butter Pie Variations
Elevate your dessert repertoire with these enticing twists:
- Pretzel‑Crust Twist
- Swap half the cookie crumbs for crushed pretzels to balance sweet and salty.
- Black‑Bottom Version
- Pour a thin layer of melted bittersweet chocolate into the crust before filling.
- Banana‑Peanut Butter Pie
- Layer banana pudding or sliced bananas beneath the peanut butter filling.
- Mini Pie Cups or Bars
- Press crumbs into muffin tins for individual pies or a pan, and slice into bars.
- S’mores Style
- Add mini marshmallows atop the filling and lightly torch until golden.
Make‑Ahead & Storage Tips
- Refrigeration
- Store covered in the fridge for up to 5 days—flavors meld deliciously over time.
- Freezing
- Wrap the entire pie or individual slices in plastic wrap and foil; freeze up to 1 month.
- Thaw overnight in the refrigerator before serving.
- Best Containers
- Use airtight containers or pie plates with tight‑fitting lids to prevent odor transfer.
Troubleshooting Common Issues
| Problem | Solution |
|---|---|
| Crust is too crumbly | Add a tablespoon of melted butter; press more firmly. |
| Filling weeps separation | Ensure cream cheese is fully softened and whipped topping is fresh. |
| Pie collapses when unmolding | Chill longer; use a springform pan for easier release. |
| Filling too sweet | Reduce powdered sugar by ¼ cup or balance with a pinch of salt. |
Pairing & Serving Suggestions
Enhance your Nutter Butter Pie experience with:
- Beverage Matches
- Coffee or espresso for a caffeine‑rich counterpoint
- Dark stout or porter beer to mirror roasted peanut notes
- Accompaniments
- Salted caramel sauce drizzle
- Fresh raspberries or sliced strawberries
- Garnish Ideas
- Crushed peanuts or mini peanut butter cups
- Edible flowers or mint sprigs for color
Healthier & Dietary Modifications
Customize for dietary preferences without sacrificing flavor:
- Lightened Creaminess
- Swap half the cream cheese for whipped Greek yogurt (unsweetened).
- Sugar Alternatives
- Use powdered sugar substitute or monk fruit sweetener in equal measure.
- Gluten‑Free Crust
- Choose certified gluten‑free peanut butter cookies.
- Dairy‑Free
- Replace cream cheese with a dairy‑free alternative and use coconut whipping cream.
Frequently Asked Questions
- Can I make this gluten‑free?
Yes! Simply use certified gluten‑free peanut butter cookies for the crust. The filling remains the same. - What’s the best way to prevent a soggy crust?
Opt for a brief bake (8–10 minutes at 350°F) or ensure you chill the crust thoroughly before filling. - How long does it last in the freezer?
Properly wrapped, the pie keeps in the freezer for up to one month. Thaw overnight in the fridge. - Can I use natural peanut butter?
Absolutely—but natural peanut butter can be thinner. You may need to reduce other liquids or add more powdered sugar for structure. - How can I make individual servings?
Press crust into muffin tins or use small ramekins. Adjust chilling time to about 1–2 hours.
Conclusion & Final Thoughts
From its playful cookie crust to its luscious peanut butter filling, Nutter Butter Pie stands as a testament to simple ingredients delivering maximum delight. It’s no‑bake ease makes it an ideal candidate for holiday feasts, summer barbecues, and any time you crave a decadent, peanut‑butter–packed dessert. Experiment with creative twists, share your favorite variations, and let this pie claim its place as your go‑to sweet indulgence. Enjoy—and don’t forget to snap a photo before diving in!