
What Are Ice Cream Cupcakes?
Ice cream cupcakes are individual frozen desserts served in cupcake liners (or cones) that combine a base (cookie crust, brownie layer, or cupcake), a scoopable ice cream center, and a finish (whipped topping, frosting swirl, sauce, and crunchy toppings).
You’ll commonly see three styles online:
- No-bake layered cups (cookie crust + ice cream + toppings)
- Baked cupcakes filled with ice cream (classic cupcake, surprise center)
- Cone-style cupcakes (cake baked in cones or a “soft-serve look” swirl)
Why You’ll Love Making Ice Cream Cupcakes
- Make-ahead friendly: prep days early and serve when you want
- Easy portioning: no slicing, no messy scooping line
- Customizable: endless flavor combos and themes
- Party-perfect: looks impressive with minimal decorating skills
- Great for kids and adults: you can make a variety pack in one batch
Ice Cream Cupcakes Ingredients
Method 1 — No-Bake Layered Ice Cream Cupcakes (12 cupcakes)
Cookie Crust
- 24 chocolate sandwich cookies (about 2 ½ cups crumbs)
- 6 tbsp unsalted butter, melted
Ice Cream Layer
- 1.5 quarts (about 6 cups) ice cream (any flavor)
Toppings (pick a few)
- 1–2 cups whipped topping (or whipped cream)
- Chocolate syrup or fudge sauce
- Caramel sauce
- Sprinkles
- Extra cookie crumbs
- Mini chocolate chips
- Chopped candy bars
- Maraschino cherries (optional)
Method 2 — Ice Cream Filled Cupcakes (12 cupcakes)
Cupcakes
- 12 baked cupcakes (homemade or box mix), completely cooled
Filling
- 1–1.5 quarts ice cream (about 4–6 cups), slightly softened
Topping Options
- Whipped topping or frosting (1–2 cups)
- Sprinkles or cookie crumbs
- Chocolate syrup/caramel sauce
- Mini cookies or candy pieces (optional)
Tools That Make This Easy
You don’t need fancy gear, but these help:
- Muffin tin + cupcake liners (foil liners release cleanly)
- Ice cream scoop (or a cookie scoop for mini portions)
- Spoon + small offset spatula (for smoothing)
- Airtight container (for storage)
- Optional: cupcake corer (for the filled cupcake method)
- Optional: piping bag + large star tip (for the swirl finish)
Method 1: No-Bake Ice Cream Cupcakes (Layered Cup Method)
This is the most popular “party tray” method because it’s fast, freezer-friendly, and super consistent.
Step-by-Step (No-Bake Layered Version)
1) Prep the Pan (5 minutes)
- Line a muffin tin with foil or sturdy cupcake liners.
- Keep the pan in the freezer while you prep the crust (this helps everything set faster).
2) Make the Cookie Crust (10 minutes)
You’re aiming for “wet sand” texture that presses firmly.
- Crush cookies into fine crumbs (food processor or rolling pin method).
- Stir crumbs with melted butter until evenly coated.
- Add 1–2 tablespoons of crust mixture to each liner.
- Press down firmly (use the bottom of a small glass or spoon).
Pro tip: A tightly packed base makes cleaner bites and helps the cupcake hold its shape.
3) Freeze the Crust (15–20 minutes)
- Freeze until firm so the crust doesn’t mix into your ice cream layer.
4) Soften the Ice Cream (10 minutes)
- Let ice cream sit at room temperature just until it’s spreadable, not melty.
- Stir gently to smooth out any icy chunks if needed.
Goal: soft enough to pack, firm enough to keep structure.
5) Add the Ice Cream Layer (10–15 minutes)
- Scoop ice cream into each liner (about 1 large scoop, depending on liner size).
- Press gently to remove air pockets.
- Smooth the top with a spoon or offset spatula.
6) Freeze Until Solid (2–4 hours)
- Freeze until completely firm before decorating.
7) Decorate + Freeze Again (10 minutes + 30 minutes)
Finish ideas:
- A dollop of whipped topping + sprinkles
- A piped swirl (whipped topping or buttercream)
- Drizzle sauce + cookie crumbs
Return to freezer for at least 30 minutes so the topping sets.
No-Bake Flavor Combos That Always Win
Try these “crowd” combos (mix a few for a variety tray):
- Cookies & Cream: Oreo crust + cookies & cream ice cream + whipped topping + cookie crumbs
- Chocolate Sundae: brownie base + chocolate ice cream + fudge drizzle + sprinkles
- Birthday Party: vanilla or cake-batter ice cream + rainbow sprinkles + mini cookies
- Strawberry Shortcake Vibe: Graham Crust + Strawberry Ice Cream + whipped topping + crushed vanilla cookies
- Mint Chip Shop Style: chocolate cookie crust + mint chip ice cream + mini chips
Method 2: Ice Cream Filled Cupcakes (Baked Cupcakes With Frozen Center)
Step-by-Step (Filled Cupcake Method)
- Bake cupcakes
- Use your favorite recipe or a box mix.
- Let them cool completely (warm cupcakes = instant melt zone).
- Core the cupcakes
- Use a cupcake corer or a small knife.
- Remove the center (save the tops like little “lids”).
- Fill with ice cream
- Let ice cream soften slightly.
- Pack ice cream into each cupcake cavity firmly.
- Cap and freeze
- Add a small piece of cupcake back on top like a lid.
- Freeze until solid.
- Decorate
Top with:
- whipped topping swirl
- buttercream “ice cream” swirl
- drizzle + sprinkles
- mini cone piece, cookie, or cherry
Decorating Ice Cream Cupcakes Like a Bakery Case
You can keep it simple or go full party mode.
Topping Textures That Work Great
- Sprinkles
- Cookie crumbs
- Mini chocolate chips
- Chopped candy bars
- Crushed waffle cone pieces (add right before serving for max crunch)
Sauces and Drizzles
- Chocolate syrup/fudge sauce
- Caramel sauce
- Berry sauce
Pro tip: If your drizzle turns hard when frozen, that’s normal—serve after a brief counter rest so it softens slightly.
Frosting vs Whipped Topping
- Whipped topping / whipped cream: light, fast, classic sundae look
- Buttercream: bold swirl, holds shape beautifully, “soft-serve” illusion
Make-Ahead, Storage, and Serving Tips
Ice cream cupcakes are at their best when they stay tightly sealed and consistently frozen.
Storage Basics
- Store cupcakes in an airtight container.
- Add a sheet of parchment between layers if stacking.
- Keep them toward the back of the freezer (most stable temp).
How Far Ahead Can You Make Them?
- Many people prep them several days ahead for parties.
- For best texture and appearance, aim to serve within a few weeks.
- If you’re planning long-term freezer storage, use sturdy liners and seal very well.
(That storage chart linked earlier is a helpful reference for “best quality” freezer timing.)
Best Serving Timing
- Remove from freezer 5–10 minutes before serving.
- This makes bites easier and brings out the creamy texture.
Party Transport Tips
If you’re traveling with them:
- Freeze them rock-solid overnight.
- Pack in a deep container.
- Use a cooler with ice packs.
- Keep toppings like cone pieces and delicate crunch add-ons separate until serving.
Troubleshooting: Common Problems (And Easy Fixes)
“My liners stick!”
- Use foil liners or silicone cups for the cleanest release.
- Let cupcakes sit 3–5 minutes before unwrapping.
“My crust is crumbly!”
- Press more firmly.
- Add a tiny bit more melted butter to bind the crumbs.
- Freeze crust before adding ice cream.
“My ice cream layer has air gaps!”
- Pack the ice cream in with the back of a spoon.
- Smooth the top slowly to push air out.
“My toppings get messy or slide!”
- Decorate only after the base is fully frozen.
- Freeze again after decorating to set everything.
“My cone gets soft!”
- For crunchier cones, add cone pieces right before serving.
- If baking in cones, avoid overfilling and cool completely before topping.
Ice Cream Cupcakes Variations for Every Theme
Kids’ Party Tray
- Vanilla ice cream + rainbow sprinkles
- Chocolate ice cream + cookie crumbs
- Strawberry ice cream + mini marshmallows (as garnish)
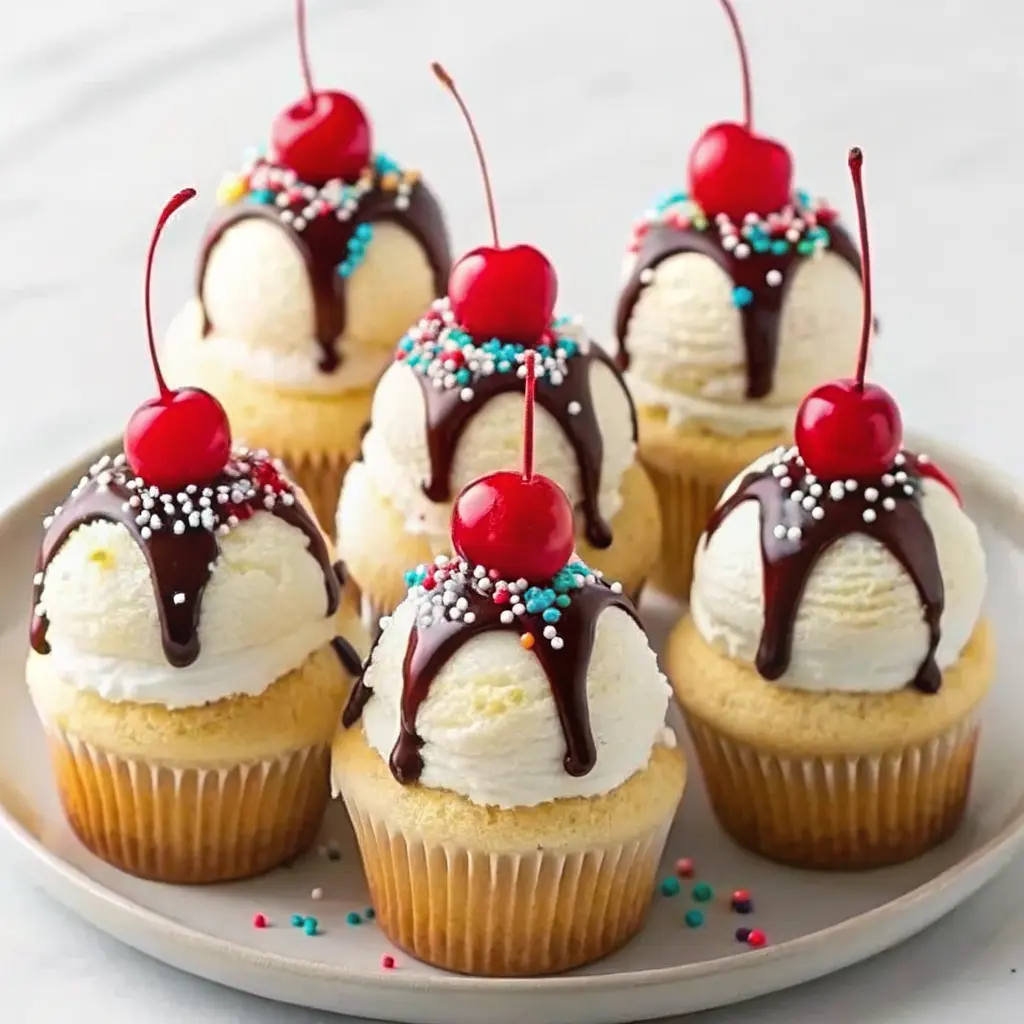
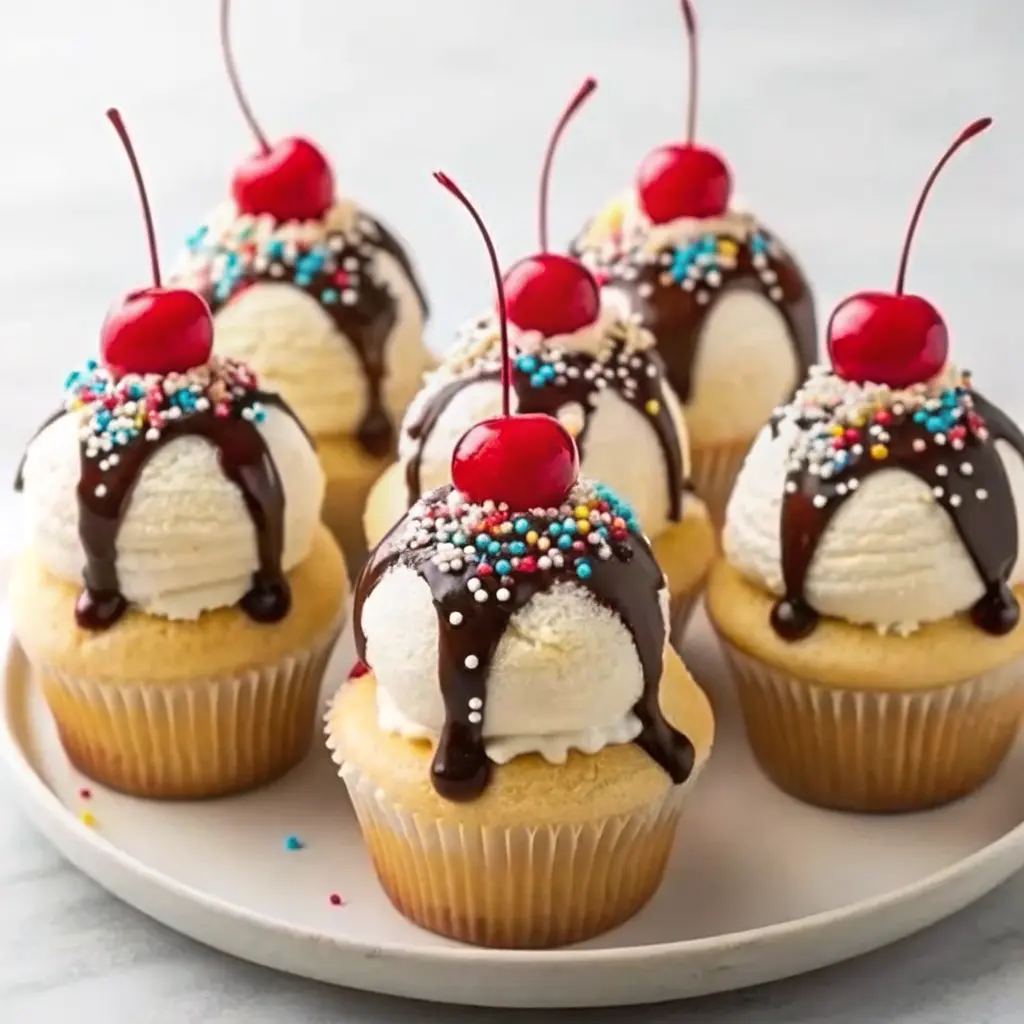
“Ice Cream Shop” Style
- Chocolate cookie crust
- Classic vanilla ice cream
- Hot fudge drizzle
- Whipped topping swirl
- Cherry on top
Holiday & Event Ideas
- Red/green sprinkles for winter parties
- Pastel sprinkles for spring celebrations
- Team colors for game day
- “Birthday cake” ice cream + candles (serve fast!)
FAQs About Ice Cream Cupcakes
Can you make ice cream cupcakes ahead of time?
Yes—this is one of the best make-ahead desserts. Assemble, freeze solid, decorate, then freeze again so they’re ready whenever you need them.
How long do ice cream cupcakes last in the freezer?
If tightly sealed and kept consistently frozen, they can last a while. For the best texture and presentation, serve within a few weeks. (The freezer storage chart linked above is a helpful “best quality” reference.)
Do I have to bake anything?
No—Method 1 is completely no-bake (cookie crust + ice cream + toppings). Baking is optional, depending on the style you choose.
What’s the best liner to use?
- Foil liners: sturdy, easy release
- Paper liners: fine, but can stick more
- Silicone cups: reusable and very clean release (if you have them)
Can I add sprinkles or cookie chunks inside the ice cream layer?
Absolutely. Mix them into slightly softened ice cream before filling the cups, or sprinkle a layer in the middle.
Conclusion
Ice Cream Cupcakes are the kind of dessert that looks festive, feels nostalgic, and makes hosting easier—because you do the work before anyone rings the doorbell. Choose your method (no-bake layered, ice cream-filled cupcakes, or cone-style), pick a few flavor combos, and stock your freezer with a tray of instant party magic.