What Is Pink Velvet Cake?
Pink velvet cake is a tender, fine-crumb layer cake with a soft vanilla flavor and a gorgeous pink color. It’s inspired by “velvet-style” cakes—cakes known for their plush crumb and smooth mouthfeel. Some versions include a tiny touch of cocoa powder, but many modern pink velvet recipes skip cocoa to keep the color bright and clean.
Pink Velvet Cake vs. Red Velvet Cake (Quick Comparison)
- Color: pink vs. deep red
- Flavor: usually vanilla-forward for pink velvet; red velvet can have a faint cocoa note
- Crumb: both aim for that soft “velvet” texture
- Frosting: both pair beautifully with cream cheese frosting or vanilla buttercream. How to make cake flour
What Makes a Cake “Velvet”?
That velvet label is all about texture. A velvet-style cake is typically:
- Soft and tender with a fine, even crumb
- Moist-feeling (without being heavy)
- Easy to slice into neat layers
A few classic techniques help create that signature texture:
- Using buttermilk (adds tenderness and a gentle tang)
- Avoiding overmixing (keeps the crumb delicate)
- Choosing the right flour (cake flour gives the softest result)
Ingredients You’ll Need for Pink Velvet Cake
This recipe is designed for two 8-inch layers (or two 9-inch layers with slightly thinner layers).
Dry Ingredients
- Cake flour (best for a tight, tender crumb)
- If using all-purpose flour, the cake will still work—just slightly less “velvety.”
- Baking powder + baking soda
- A balanced lift helps the crumb stay soft and even.
- Salt
- Makes the vanilla flavor pop.
Wet Ingredients
- Unsalted butter
- Adds rich flavor and a classic cake texture.
- Neutral oil (optional but recommended)
- Helps keep the layers soft and sliceable.
- Sugar
- Sweetness + structure.
- Egg whites
- Helps keep the cake pale so the pink color stays true (less yellow).
- Vanilla extract
- The flavor backbone.
- Buttermilk
- Key for tenderness and that velvet vibe.
Color
- Pink gel food coloring
- Gel gives strong color without watering down the batter.
Color tip: Always tint gradually. It’s easier to add more than to “undo” a too-bright shade.
Tools and Pan Prep Checklist
Before you start, gather:
- 2 round cake pans (8-inch or 9-inch)
- Parchment paper rounds
- Mixer (stand or hand)
- Mixing bowls + whisk
- Rubber spatula
- Cooling racks
- Offset spatula (for frosting)
- Optional: cake turntable + bench scraper for smooth sides
Prep like a pro:
- Grease pans, line with parchment, then lightly grease again.
- Dust with flour if you want extra insurance against sticking.
Pink Velvet Cake Recipe (Layer Cake)
Yield
- One 2-layer cake (8-inch or 9-inch)
Ingredients — Cake Layers
Dry
- 2 1/2 cups (300g) cake flour
- 1 1/2 tsp baking powder
- 1/2 tsp baking soda
- 1/2 tsp fine salt
Wet
- 1/2 cup (113g) unsalted butter, softened
- 1/4 cup (60ml) neutral oil
- 1 3/4 cups (350g) granulated sugar
- 4 large egg whites, room temperature
- 1 tbsp vanilla extract
- 1 1/4 cups (300ml) buttermilk, room temperature
- Pink gel food coloring (start small; build up)
Step-by-Step: How to Make Pink Velvet Cake Layers
1) Preheat and Prep (5 minutes)
- Preheat oven to 350°F (175°C).
- Prepare pans with parchment + grease.
2) Mix Dry Ingredients (2 minutes)
In a bowl, whisk together:
- cake flour
- baking powder
- baking soda
- salt
Set aside.
3) Cream Butter, Oil, and Sugar (3–4 minutes)
In a large mixing bowl:
- Beat butter and sugar until light and fluffy.
- Stream in oil and mix until smooth.
Why this matters: Proper creaming creates a lighter crumb and helps the cake bake evenly.
4) Add Egg Whites + Vanilla (2–3 minutes)
- Add egg whites in 2–3 additions, mixing between each.
- Mix in vanilla.
5) Alternate Dry + Buttermilk (2 minutes)
- Add 1/3 of dry ingredients, mix gently.
- Add 1/2 the buttermilk, mix gently.
- Repeat, ending with dry ingredients.
Rule: Mix only until the flour disappears. Overmixing can make the cake tight.
6) Tint the Batter (1 minute)
- Add a small amount of pink gel food coloring.
- Mix, check the shade, and adjust.
- Remember: the cake often bakes slightly darker than raw batter.
7) Bake (25–35 minutes)
- Divide batter evenly between pans.
- Bake until the center springs back lightly and a toothpick comes out clean.
Quick doneness cues:
- tops are set, not jiggly
- edges pull slightly from pan
- center bounces back when tapped
8) Cool Correctly (Important!)
- Cool in pans 10–15 minutes.
- Turn out onto racks and cool completely before frosting.
Pro move: Chill layers for 30–60 minutes before decorating for cleaner assembly.
Best Frosting for Pink Velvet Cake
You’ve got two classic directions. Pick based on your vibe:
Option A: Cream Cheese Frosting (Classic Pairing)
Perfect if you want:
- a tangy, silky finish
- a softer, bakery-style bite
Option B: Vanilla Buttercream (Super Stable)
Perfect if you want:
- crisp piping
- sharp edges
- a sturdy cake for travel
Below are recipes for both, so you can choose.
Recipe: Cream Cheese Frosting (Smooth and Spreadable)
Ingredients
- 8 oz (225g) cream cheese, softened
- 1/2 cup (113g) unsalted butter, softened
- 4 cups (480g) powdered sugar, sifted
- 1 1/2 tsp vanilla extract
- Pinch of salt
Instructions
- Beat cream cheese + butter until smooth.
- Add powdered sugar gradually.
- Mix in vanilla and salt.
- Chill 15–20 minutes if it feels too soft.
Tip: Don’t overbeat once it’s smooth—overmixing can loosen it.
Recipe: Vanilla Buttercream (Stable for Piping)
Ingredients
- 1 cup (226g) unsalted butter, softened
- 4 cups (480g) powdered sugar, sifted
- 2–4 tbsp milk or cream (as needed)
- 2 tsp vanilla extract
- Pinch of salt
- Optional: tiny dot of pink gel coloring for a blush tone
Instructions
- Beat butter until creamy.
- Add powdered sugar in batches.
- Add vanilla + salt.
- Add milk/cream a little at a time until spreadable.
For super smooth buttercream:
- Beat on low for the last minute to reduce air bubbles.
How to Assemble and Decorate the Cake (Clean, Bakery-Style)
1) Level the Layers
If your layers domed:
- Use a serrated knife to level the tops.
- Save scraps for decorating or tasting.
2) Add Filling and Stack
- Place first layer on a cake board/plate.
- Spread frosting evenly to the edge.
- Add the second layer (bottom side up for a flatter top).
3) Crumb Coat (Don’t Skip This)
A crumb coat is a thin first layer of frosting that traps crumbs.
- Spread a thin layer over the whole cake.
- Chill 15–30 minutes.
- Then apply the final frosting coat.
4) Final Frost + Smooth
Use:
- an offset spatula for the top
- a bench scraper for sides (especially on a turntable)
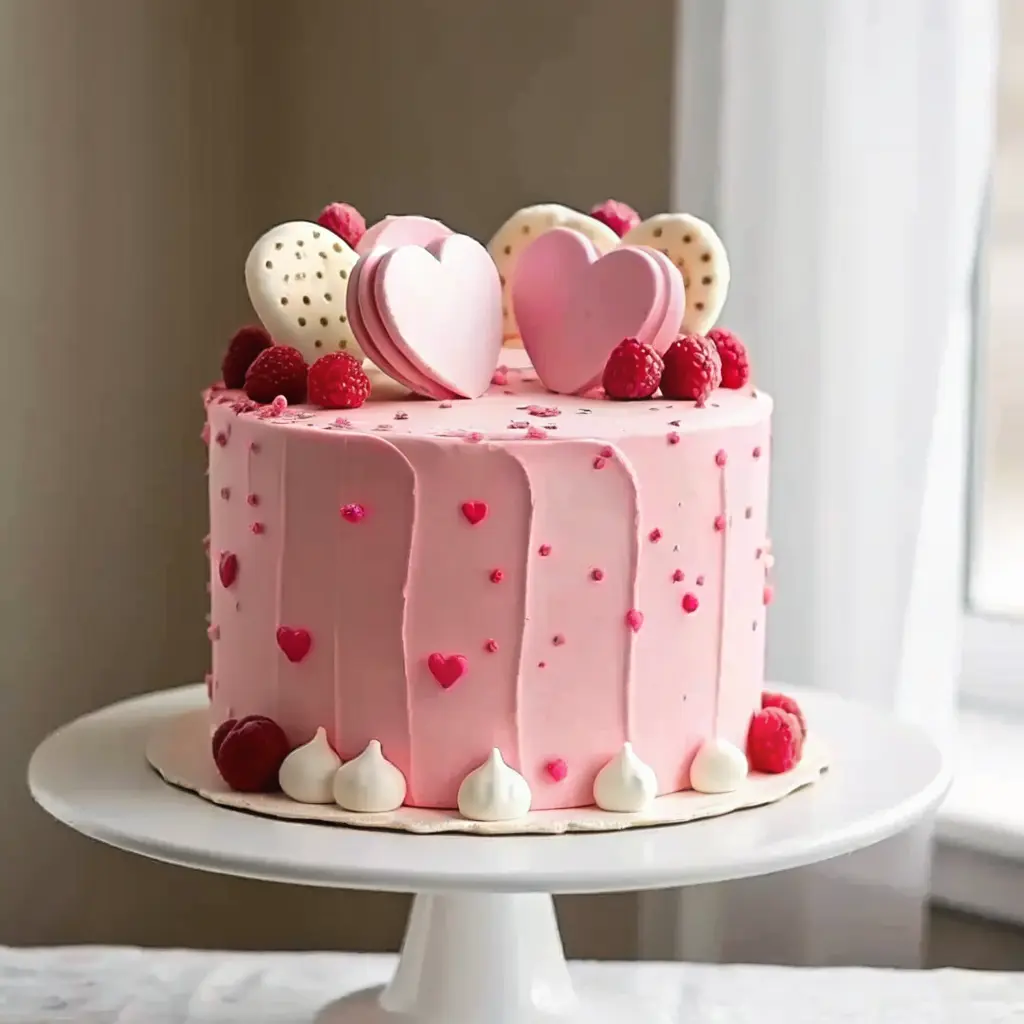
5) Decorating Ideas (Pick Your Style)
Simple + cute
- swirl frosting on top
- add sprinkles or pearls
- finish with a small heart topper
Vintage piping
- shell borders
- ruffles
- rosettes
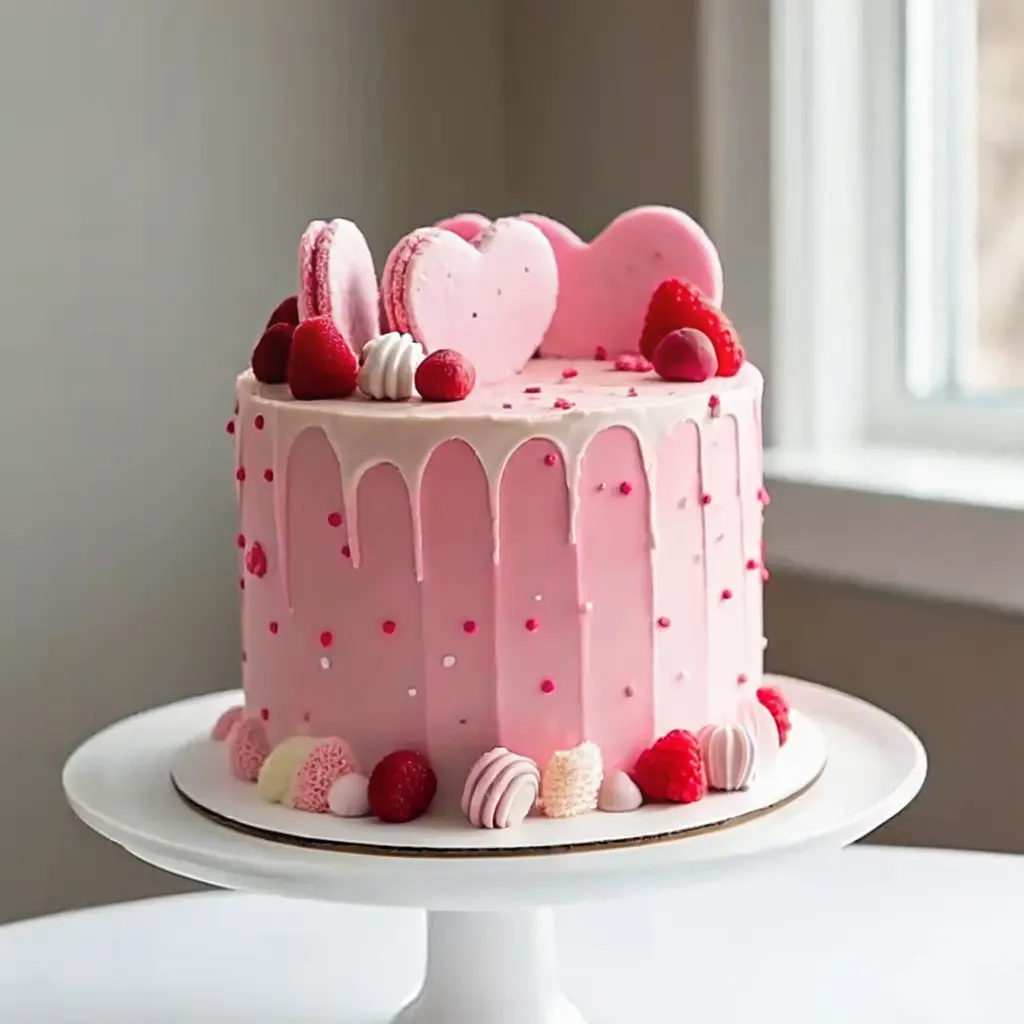
Modern party look
- smooth sides
- drip effect (white chocolate drip works beautifully)
- bright sprinkles
Make-Ahead, Storage, and Freezing Tips
Make-Ahead
- Bake layers 1–2 days ahead.
- Wrap tightly and keep at cool room temperature or chilled.
Freezing Layers
- Cool completely.
- Wrap each layer (plastic wrap + foil).
- Freeze up to a couple of months for best texture.
Thawing:
- Thaw wrapped at room temperature.
- Frost once fully thawed to avoid condensation issues.
Storing the Finished Cake
- If using buttercream, it can sit at cool room temperature for a while.
- If using cream cheese frosting, store chilled and bring to a good serving temperature before slicing.

Troubleshooting: Common Issues and Easy Fixes
“My cake is dense.”
Likely causes:
- overmixing after adding flour
- ingredients too cold
- expired leaveners
Fixes:
- mix only until combined
- bring buttermilk/egg whites to room temperature
- check baking powder/soda freshness
“My cake is dry.”
Likely causes:
- overbaking
- too much flour
Fixes:
- start checking early
- spoon and level flour (don’t pack)
- use a thermometer approach if you like precise baking
“The middle sank.”
Likely causes:
- oven door opened early
- batter over-aerated then collapsed
- too much leavener
Fixes:
- don’t open oven until the cake is mostly set
- measure leaveners carefully
“My frosting is too soft.”
Fixes:
- chill it 15–20 minutes
- add a bit more powdered sugar (small increments)
- make sure your kitchen isn’t overly warm
“Color is uneven.”
Fixes:
- mix coloring thoroughly
- scrape bowl well
- use gel coloring for consistency
FAQs About Pink Velvet Cake
What is pink velvet cake?
Pink velvet cake is a soft, tender layer cake with a fine crumb and a vanilla-forward flavor, tinted pink for a fun celebration look.
Is pink velvet the same as red velvet?
They’re similar in texture goals, but pink velvet is often more vanilla-focused and commonly uses little to no cocoa to keep the color bright and clean.
Does pink velvet cake contain cocoa powder?
Sometimes a tiny amount is included for a subtle velvet-style note, but many versions skip cocoa entirely so the pink color stays true.
Why do recipes use buttermilk in velvet cakes?
Buttermilk helps create a tender crumb and a smooth bite. It also works with leaveners to give the cake an even rise.
Can I make this without food coloring?
Yes, but the cake won’t be as vividly pink. You can experiment with natural color sources, but shades can vary and often appear more muted than expected when baked.
Conclusion
This Pink Velvet Cake is the kind of bake that turns heads the moment it hits the table: soft layers, beautiful color, and frosting that makes every slice feel special. Whether you keep it classic with cream cheese frosting or go bold with piped vanilla buttercream, the result is pure celebration.