What Are Winter Cookies?
Before diving into mixing bowls and cookie cutters, it’s helpful to understand what makes a winter cookie different from everyday treats. While you can technically enjoy cookies any time of year, winter cookies usually lean into:
- Comforting spices like cinnamon, ginger, nutmeg, and cloves
- Deep, cozy flavors such as brown sugar, vanilla, citrus zest, and chocolate
- Shapes and designs that reflect the season: snowflakes, snowmen, sweaters, mittens, stars, trees, and frosty landscapes
Key Winter Flavors, Spices & Ingredients
A memorable Winter Cookies recipe begins with flavors that instantly say “cozy.” Building a winter flavor profile is all about layering sweet, spicy, and aromatic notes in a balanced way.
Essential Winter Spices
These spices are the foundation of many winter cookies:
- Cinnamon – Warm and familiar, perfect in sugar cookies and shortbread.
- Ginger – Adds gentle heat and depth, ideal for gingerbread-style cookies.
- Nutmeg – Earthy and slightly sweet; use lightly to avoid overpowering the dough.
- Cloves – Very strong and aromatic; great in tiny amounts for festive flavor.
- Allspice – Tastes like a blend of cinnamon, cloves, and nutmeg in one.
- Cardamom – Floral and citrusy; pairs beautifully with vanilla and orange zest.
Seasonal Add-Ins
To make your Winter Cookies recipe even more special, incorporate seasonal add-ins like:
- Dried fruits: cranberries, golden raisins, chopped dried apricots
- Nuts: almonds, walnuts, hazelnuts, pecans, pistachios
- Citrus zest: orange, lemon, or even clementine zest
- Chocolate: chopped dark chocolate, mini chips, or white chocolate chunks
These ingredients add color, texture, and variety to your winter cookie platters, allowing you to create a mix of classic spiced sugar cookies, nutty shortbread, and fruity citrus-spiked bites using similar base recipes.
Fats, Sugars & Flour
For a classic winter sugar cookie dough that holds shape and tastes rich:
- Use unsalted butter for flavor and a tender crumb.
- Blend granulated sugar (for structure) with light brown sugar if you want a hint of caramel depth.
- Stick to all-purpose flour for a reliable structure, especially if the cookies will be cut into snowflakes and other intricate shapes.
Tools for Perfect Winter Cookies
You don’t need a bakery’s worth of tools to make a great Winter Cookies recipe. A few basic items will set you up for success.
Must-Have Tools
- Mixing bowls (one large, one medium)
- Measuring cups and spoons
- Hand mixer or stand mixer with paddle attachment
- Rubber spatula for scraping the bowl
- Rolling pin
- Winter-themed cookie cutters: snowflakes, mittens, trees, stars, snowmen, sweaters
- Baking sheets and parchment paper or silicone baking mats
- Cooling racks
- Piping bags and small round piping tips for royal icing
Base Winter Cookies Recipe – Buttery Sugar Cookies for Decorating
This versatile sugar cookie base is perfect for cut-outs and will become your go-to Winter Cookies recipe. You can adjust the spices and zest to match your favorite winter flavors.
Ingredients
For about 3–4 dozen medium cookies (depending on cutter size):
- 1 cup (225 g) unsalted butter, softened
- 1 cup (200 g) granulated sugar
- 1 large egg, room temperature
- 2 teaspoons pure vanilla extract
- ½ teaspoon almond extract (optional, but lovely for winter flavors)
- 2 ½ to 2 ¾ cups (300–330 g) all-purpose flour
- ½ teaspoon baking powder
- ½ teaspoon fine salt
- ½ to 1 teaspoon ground cinnamon (optional)
- Pinch of nutmeg or cardamom (optional)
- Finely grated zest of 1 orange or lemon (optional, for citrus-spiced winter cookies)
Step-by-Step Method
- Cream the butter and sugar
- In a large bowl, beat the softened butter and granulated sugar together until light and fluffy. This step helps your winter cookies bake up with a pleasant texture.
- Add egg and flavorings
- Mix in the egg, vanilla extract, and almond extract (if using).
- If you’re using citrus zest, add it now so the oils disperse evenly throughout the dough.
- Combine the dry ingredients
- In a separate bowl, whisk together flour, baking powder, salt, and any winter spices you’re using (cinnamon, nutmeg, cardamom).
- Start with 2 ½ cups of flour; you can add more later if the dough is too sticky.
- Bring the dough together
- Gradually add the dry mixture to the wet ingredients, mixing on low speed until a soft dough forms.
- If the dough is very sticky, add extra flour a tablespoon at a time until it’s soft but not wet.
- Chill the dough
- Divide the dough into two discs, wrap each in plastic wrap, and chill for at least 1 hour.
- Chilling lets the flour hydrate and helps the cookies retain sharp shapes when cut and baked.
- Roll, cut, and bake
- Preheat your oven to 175–180°C (350–355°F).
- On a lightly floured surface, roll one disc of dough at a time to about 6 mm (¼ inch) thickness.
- Cut out shapes with winter-themed cookie cutters, re-rolling scraps as needed.
- Place cookies on lined baking sheets, leaving a little space between them.
- Bake for 8–12 minutes, depending on size, just until the edges are set and the bottoms are lightly golden.
- Let cookies rest on the tray for a couple of minutes, then transfer to a cooling rack to cool completely before decorating.
Simple Royal Icing for Winter Cookie Decorating
Royal icing is the secret to smooth, glossy winter wonderland cookies. With one batch and a few consistency changes, you can outline, flood, and add tiny details.
Ingredients
- 4 cups (about 500 g) powdered sugar, sifted
- 3 tablespoons meringue powder (or pasteurized egg whites, following package directions)
- About 6–8 tablespoons of water
- 1 teaspoon vanilla or almond extract (optional, clear varieties keep icing bright white)
Method
- Mix the base icing
- In a large bowl, combine sifted powdered sugar and meringue powder.
- Add about half the water and mix on low speed, gradually adding more water until the icing is thick but smooth.
- Whip to stiff peaks
- Increase mixer speed and whip until the icing is glossy and holds stiff peaks (about 5–7 minutes).
- This stiff consistency is great for detailed piping and outlines.
- Adjust icing consistency
- Divide the icing into bowls.
- For outlining, use stiff icing or thin it with a drop or two of water at a time until it flows slowly and holds its shape.
- For flooding, thin the icing slightly more so it flows smoothly and settles back into itself within about 10–15 seconds.
- Add color and flavor
- Use gel food coloring to create winter shades: icy blue, deep navy, cranberry red, evergreen, and soft gray.
- Add flavor extracts sparingly so you don’t over-thin the icing.
Decorating Ideas for Your Winter Cookies Recipe
The decorating stage is where your winter cookies truly come alive. Don’t worry if you’re not an artist; simple techniques can create impressive results.
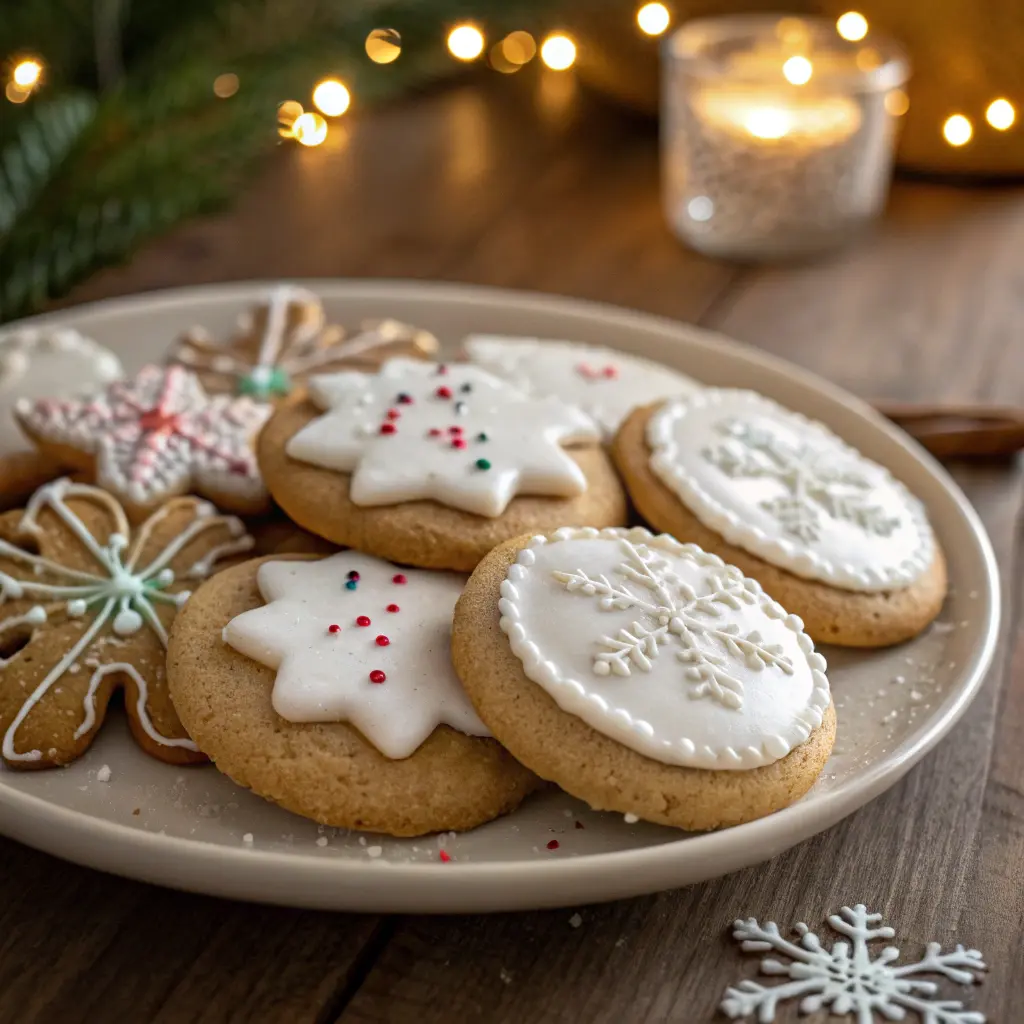
Classic Winter Designs
Try these popular seasonal themes:
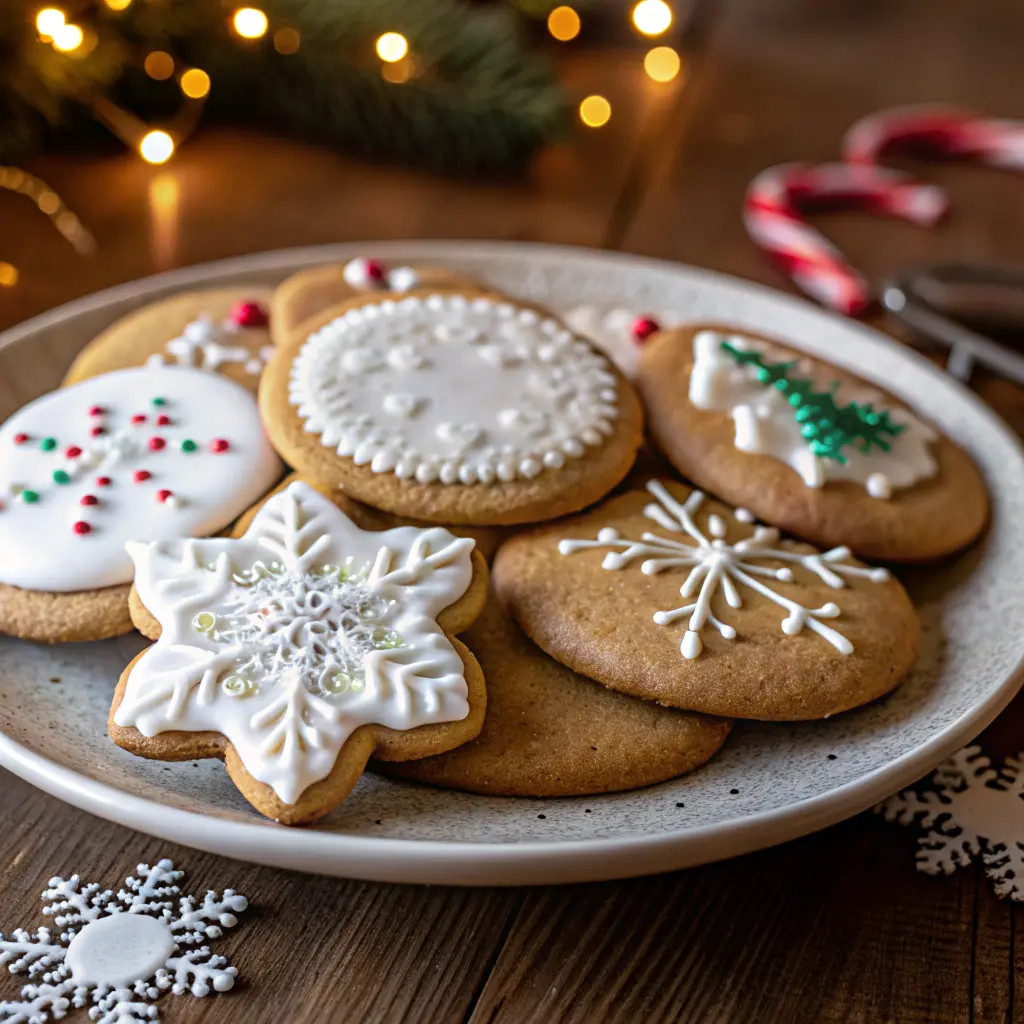
- Snowflakes: Use snowflake cutters and royal icing lines, dots, and tiny details. Add sanding sugar or a touch of edible glitter for a frosty effect.
- Snowmen: Stack two or three round cookies or use a snowman cutter. Decorate with scarves, hats, and tiny carrot noses.
- Mittens and sweaters: Use sweater and mitten cutters, then pipe simple patterns like stripes, dots, and knit-style lines.
- Trees and stars: Decorate evergreen trees with zigzag icing “garlands” and tiny dot “ornaments.” Stars look magical with simple outlines and a dusting of shimmer.
- Polar animals: Penguins, polar bears, and owls look adorable on winter cookie trays and are surprisingly simple with a few basic shapes.
Outlining, Flooding & Detail Work
A neat way to decorate winter sugar cookies with royal icing is to follow this pattern:
- Outline: Pipe an outline around the edge of the cookie using slightly thick icing. This creates a dam.
- Flood: Fill the inside with thinner flooding icing, using a toothpick or scribe tool to nudge icing into corners and pop air bubbles.
- Add details: Once the base layer has crusted over slightly, add details like lines, dots, snowflake patterns, sweater designs, faces, and small accents.
Color, Shimmer & Texture
To give your winter cookies that extra magic:
- Use white and pale blue icing for frosty snowflake sets.
- Dust cookies with sanding sugar or sparkly sprinkles while the icing is still wet.
- Add edible luster dust or glitter (used sparingly) for an icy, shimmering look.
- Use stencils and airbrushing if you want more advanced designs or a misty, snowy effect.
Make-Ahead, Storage & Freezing Tips
Because winter is a busy season, it’s helpful that a Winter Cookies recipe adapts well to making ahead, storing, and freezing.
Make-Ahead Dough
- Prepare your dough up to several days in advance and keep it tightly wrapped in the fridge.
- For longer storage, wrap discs of dough in plastic and then in a freezer bag, labeling the date.
- When ready to bake, thaw refrigerated dough slightly until rollable, and frozen dough in the fridge overnight.
Storing Baked Winter Cookies
- Store plain cookies (undecorated) in an airtight container at room temperature. They typically stay pleasant for several days.
- Once decorated, let royal icing dry completely before stacking.
- Separate layers of decorated cookies with parchment paper to protect designs and prevent sticking.
Freezing Baked Cookies
- You can freeze undecorated cookies in airtight containers or freezer bags.
- To freeze decorated cookies, make sure the icing is fully dry and pack them carefully with padding and parchment between layers.
- Thaw in the fridge or at cool room temperature, still in the container, to avoid condensation forming directly on the icing.
Serving, Gifting & Presentation Ideas
The way you serve or present your winter cookies can be just as delightful as the baking itself.
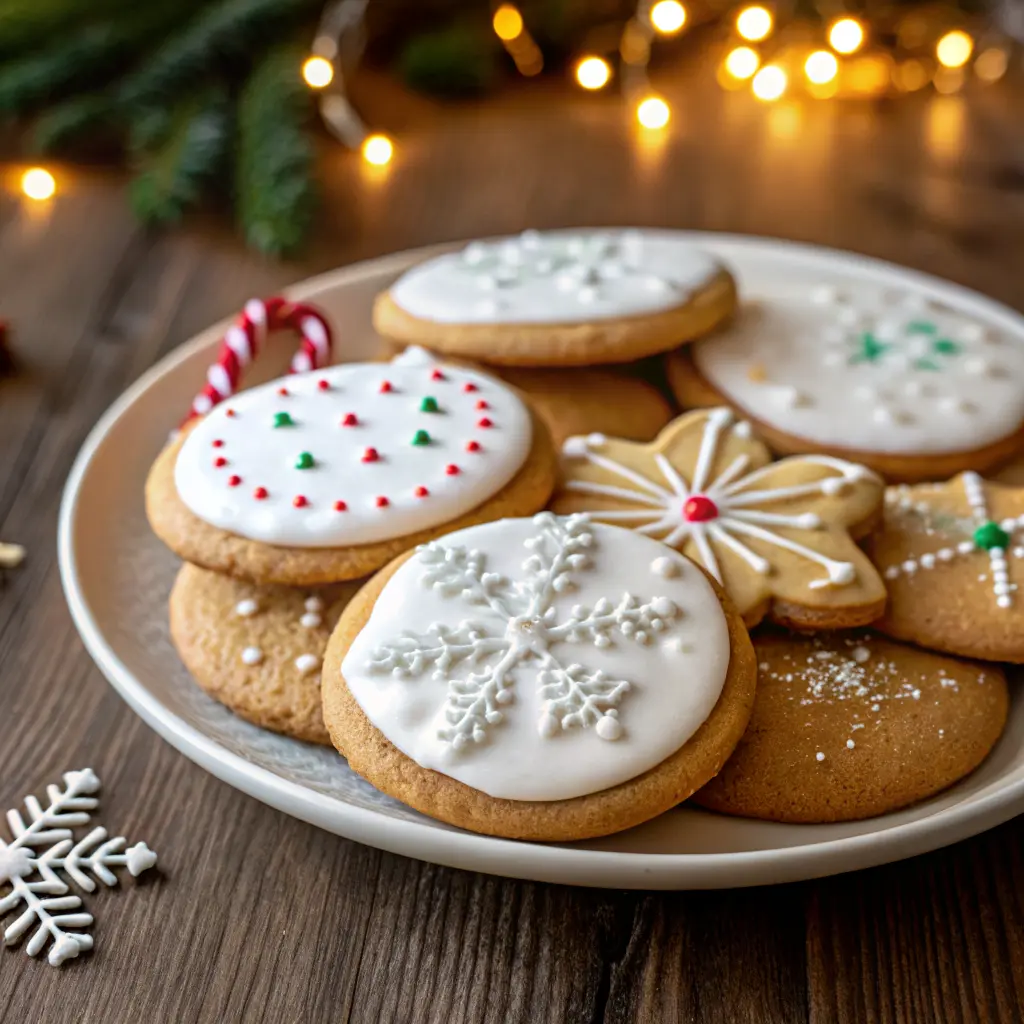
Winter Cookie Platters
Create a visually appealing platter by mixing:
- Different shapes: snowflakes, stars, trees, mittens
- A balanced color palette: white, blue, red, green, and metallic accents
- Textures: plain butter cookies, iced cookies, sugar-dusted shortbread, nutty cookies
Arrange them by color gradient or shape clusters, or build a centerpiece design (like a wreath made of cookies).
Cookie Gift Boxes & Party Favors
- Pack cookies in decorative tins or sturdy boxes lined with tissue.
- Add a small label or tag with the name of your Winter Cookies recipe and a short note.
- For party favors, wrap two or three cookies in a clear bag with a ribbon and a tiny tag.
Cookie Decorating Parties
Set up a simple decorating station:
- Bowls of colored icing in squeeze bottles or piping bags
- Sprinkles, sanding sugar, mini chocolate chips
- A tray of blank winter cookies is ready to decorate
Troubleshooting Common Winter Cookie Issues
Even experienced bakers occasionally run into problems. Here’s how to troubleshoot your Winter Cookies recipe so each batch gets better.
Cookies Spreading or Losing Shape
If your winter cookies bake into blobs instead of crisp snowflakes:
- The dough may be too warm; chill cut-out cookies on the tray for 10–15 minutes before baking.
- Butter might have been too soft or slightly melted when mixed.
- Too much baking powder can cause cookies to puff and spread.
Dry or Hard Cookies
If cookies feel too hard:
- They may be overbaked. Pull them from the oven when edges are just set and the tops are matte, even if they still look pale.
- Over-measuring flour can dry out dough; try reducing the flour slightly next time.
Royal Icing Problems
- Cratered details: Small dots or sections like eyes and buttons can sink. Use slightly thicker icing for tiny details and allow a base layer to crust a bit before adding dots.
- Dull finish: Over-mixing or very humid environments can affect shine. Aim for the right consistency and let cookies dry at room temperature without covering them.
- Air bubbles and rough texture: After thinning icing, gently stir and let it rest for a few minutes, then pop visible bubbles with a toothpick.
FAQs About Winter Cookies Recipes
Here are common questions people ask when learning to master a Winter Cookies recipe.
1. What makes a cookie a “winter cookie”?
A winter cookie usually includes warm spices, seasonal flavors, and shapes or decorations that reflect the colder months, such as snowflakes, trees, and mittens. The recipe is often sturdy enough for cut-outs and detailed decorating.
2. What spices are best for a Winter Cookies recipe?
Popular winter spices include cinnamon, ginger, nutmeg, cloves, allspice, and cardamom. You can use one or two for a subtle flavor or create your own spice blend for a bolder cookie.
3. How do I keep my winter cookies from spreading?
Chill your dough before rolling, and chill shaped cookies on the tray before baking. Make sure the butter isn’t melted and avoid too much baking powder.
4. What thickness is ideal for cut-out winter cookies?
Rolling the dough to about 6 mm (¼ inch) balances shape and texture. Thinner cookies brown faster and can become too crisp, while thicker cookies may puff or lose fine details.
5. How long should I bake winter cookies?
Bake at around 175–180°C (350–355°F) for 8–12 minutes, depending on size. Watch for set edges and a subtle golden color on the bottom rather than relying strictly on time.
Conclusion
A great Winter Cookies recipe is more than a list of ingredients; it’s a starting point for creative, cozy baking all season long. With a buttery, reliable dough, aromatic winter spices, and versatile royal icing, you can craft snowflake sets, sweater cookies, penguin families, and shimmering stars that look as magical as they taste.