
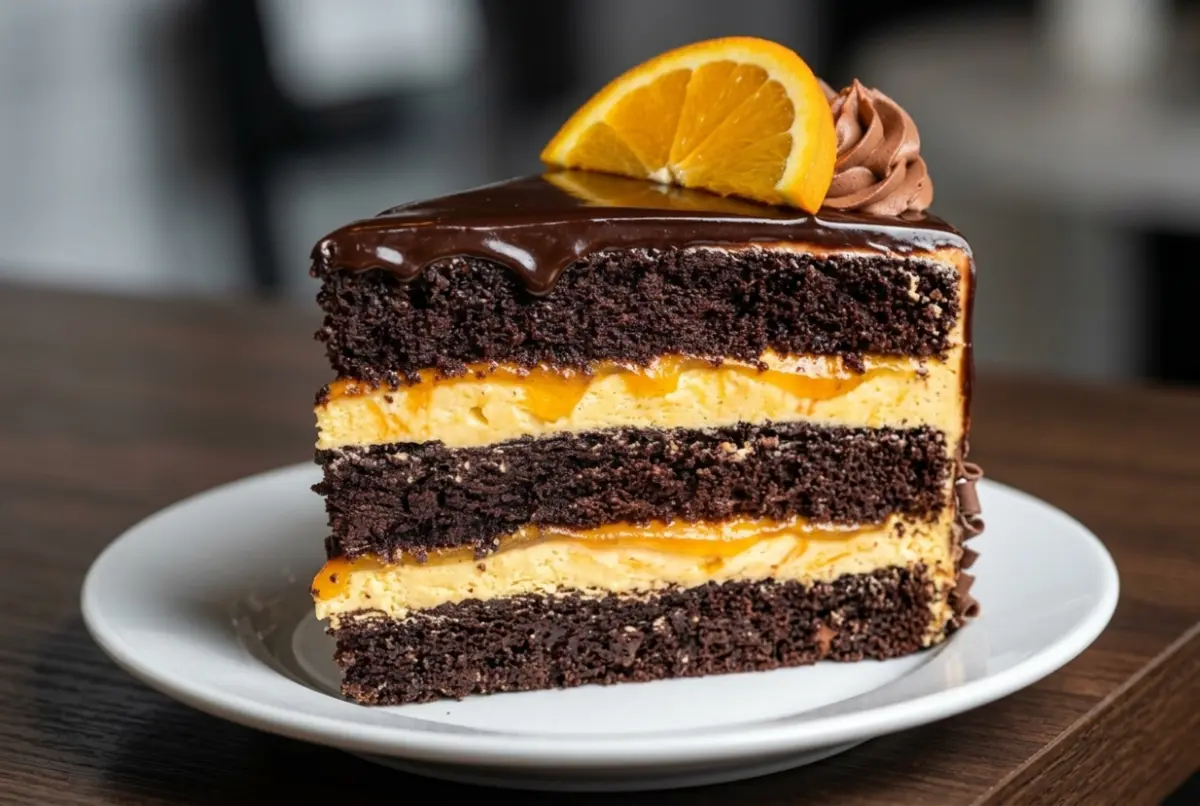
Why You’ll Love This Chocolate Orange Cheesecake Layer Cake
There are plenty of reasons to fall in love with this chocolate orange cheesecake layer cake. It combines familiar dessert flavors in a beautiful layered presentation, making it both delicious and impressive.
- The perfect chocolate and orange combination: Deep chocolate flavors pair beautifully with the fragrant, slightly tangy taste of fresh oranges. The citrus adds brightness to every bite without overpowering the chocolate.
- Three delicious layers: Soft chocolate sponge, creamy orange cheesecake, and rich chocolate ganache come together to create a dessert with different textures in every slice.
- Perfect for special occasions: Its tall appearance and elegant finish make it suitable for birthdays, Christmas gatherings, anniversaries, dinner parties, and celebrations.
- A homemade bakery-style dessert: Although it looks elaborate, the recipe uses straightforward baking techniques and familiar ingredients.
- Make-ahead friendly: The cheesecake and chocolate cake layers can be prepared separately in advance, making assembly more convenient.
- Beautiful to decorate: Chocolate curls, candied orange slices, fresh zest, or chocolate orange segments create an attractive finish with very little effort.
What Is a Chocolate Orange Cheesecake Layer Cake?
A Chocolate Orange Cheesecake Layer Cake is a combination of traditional chocolate layer cake and baked orange cheesecake. Instead of using only sponge cake and frosting, this dessert features a thick, creamy cheesecake layer nestled between chocolate cake layers.
The chocolate sponge provides a soft, tender base, while the orange cheesecake adds a smooth, creamy center with a delicate citrus flavor. The entire cake is finished with chocolate ganache, which creates a glossy coating and ties the different layers together.
Unlike a traditional cheesecake, which usually has a biscuit base, this recipe uses chocolate sponge as the foundation. It is also different from a standard chocolate orange cake because the cheesecake center provides an additional texture and a distinctive creamy filling.
Essential Equipment for Making the Cake
Before starting, prepare the equipment to make the baking and assembly process easier.
- Two 8-inch round cake pans for the chocolate sponge.
- One 8-inch springform pan for the cheesecake.
- Parchment paper for lining the pans.
- Two large mixing bowls.
- Electric hand mixer or stand mixer.
- Whisk and silicone spatula.
- Measuring cups and kitchen scale.
- Fine grater or zester for the oranges.
- Wire cooling racks.
- Saucepan and heatproof bowl for the ganache.
- Offset spatula for spreading the frosting.
- Cake turntable, if available.
- Sharp knife for slicing the finished cake.
Chocolate Orange Cheesecake Layer Cake: Rich & Creamy
- Total Time: About 9 hours
- Yield: 12 slices 1x
Ingredients
- 2 cups all-purpose flour
- ¾ cup unsweetened cocoa powder
- 1¾ cups granulated sugar
- 2 eggs
- 1 cup buttermilk
- ½ cup vegetable oil
- 1 cup hot coffee or water
- 2 teaspoons vanilla extract
- 1½ teaspoons baking powder
- 1½ teaspoons baking soda
- ½ teaspoon salt
- 24 oz full-fat cream cheese
- ¾ cup granulated sugar
- 3 eggs
- ½ cup sour cream
- 2 tablespoons orange zest
- 2 tablespoons orange juice
- 1 teaspoon vanilla extract
- 1 tablespoon flour
- 8 oz dark or semisweet chocolate
- 1 cup heavy cream
- 1 tablespoon butter (optional)
- Chocolate curls and candied orange for decoration
Instructions
- Preheat the oven to 350°F (175°C) and prepare two 8-inch cake pans and one 8-inch springform pan.
Whisk the flour, cocoa, sugar, baking powder, baking soda, and salt. Mix the eggs, buttermilk, oil, and vanilla separately, then combine with the dry ingredients. Gradually add the hot coffee or water.
Divide the batter between the cake pans and bake for 28–33 minutes. Cool completely.
Beat the cream cheese until smooth. Add the sugar, sour cream, orange zest, orange juice, and vanilla. Mix in the eggs one at a time, then add the flour.
Pour into the springform pan and bake at 325°F (160°C) for 50–65 minutes, until the edges are set and the center has a slight wobble. Cool gradually, then refrigerate for 4–6 hours or overnight.
Heat the cream until steaming, pour it over the chopped chocolate, and let it stand for 3 minutes. Stir until smooth and add the optional butter. Cool until spreadable.
Stack the first chocolate sponge, a thin layer of ganache, the chilled cheesecake, and the second sponge.
Apply a crumb coat, chill, then spread the remaining ganache over the cake.
- Decorate with chocolate curls, orange zest, or candied orange slices. Chill for 1–2 hours before slicing.
- Prep Time: 40 minutes
- Cook Time: 1 hour 30 minutes
- Category: Dessert
- Method: Baking
- Cuisine: American
Nutrition
- Serving Size: 1 slice
- Calories: 620 kcal
- Sugar: 48 g
- Sodium: 380 mg
- Fat: 40 g
- Saturated Fat: 22 g
- Unsaturated Fat: 15 g
- Trans Fat: 1 g
- Carbohydrates: 59 g
- Fiber: 4 g
- Protein: 9 g
- Cholesterol: 125 mg
How to Make Chocolate Orange Cheesecake Layer Cake
Step 1: Prepare the Baking Pans
Preheat your oven to 350°F (175°C). Grease two 8-inch round cake pans and line their bottoms with parchment paper.
Prepare an 8-inch springform pan for the cheesecake. Line its bottom with parchment paper and lightly grease the sides.
Set out the ingredients so they are ready to use. Allow the cream cheese and eggs to come to room temperature before making the cheesecake batter.
Step 2: Make the Chocolate Cake Batter
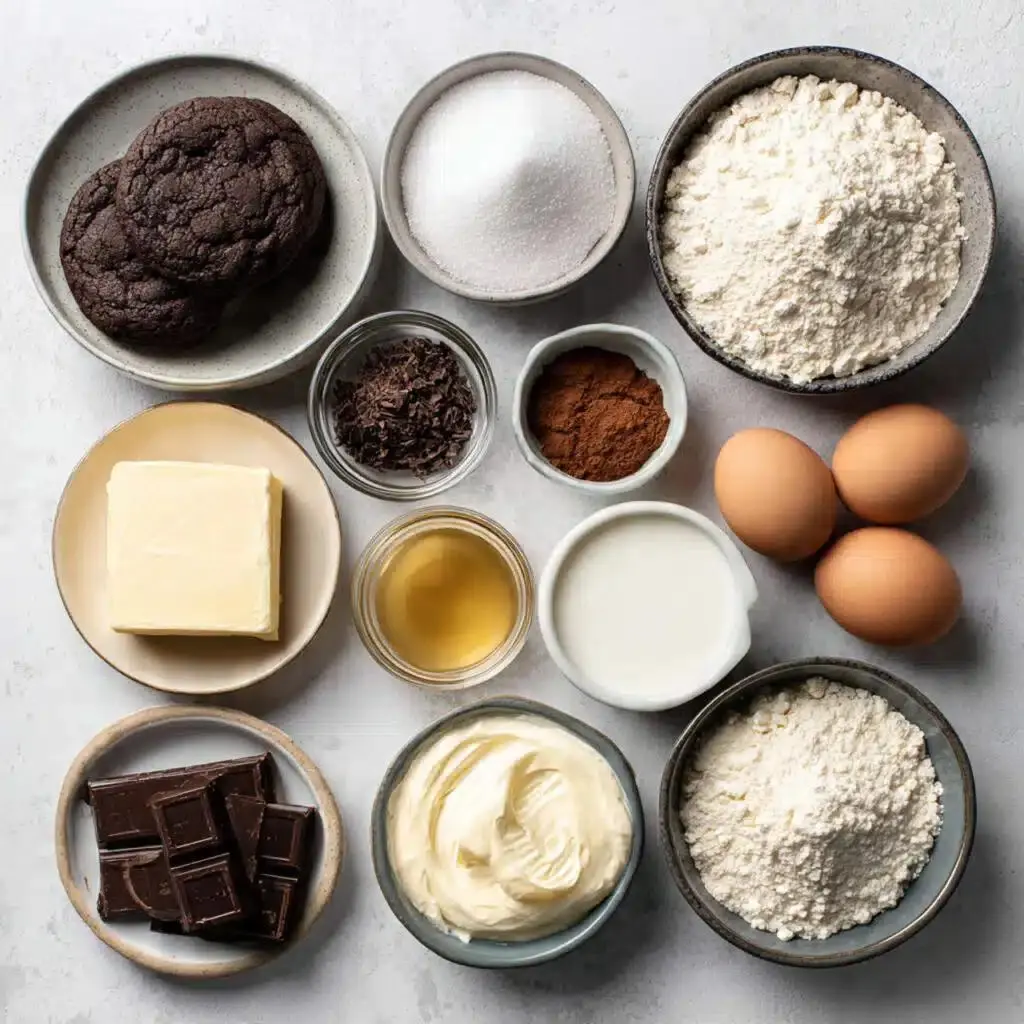
In a large mixing bowl, whisk together the flour, cocoa powder, sugar, baking powder, baking soda, and salt until evenly combined.
In a separate bowl, whisk the eggs, buttermilk, vegetable oil, and vanilla extract. Pour the wet ingredients into the dry ingredients and mix gently until the batter is mostly smooth.
Slowly pour in the hot coffee or water while mixing on low speed. The batter will become thin, which is normal for this style of chocolate cake.
Scrape down the sides of the bowl with a spatula to ensure all the ingredients are incorporated. Avoid overmixing, as this can make the finished sponge less tender.
Step 3: Bake the Chocolate Cake Layers
Divide the chocolate batter evenly between the two prepared cake pans. Use a kitchen scale if you want both layers to have the same thickness.
Place the pans on the middle oven rack and bake for approximately 28–33 minutes, or until the centers are set and a toothpick inserted into the middle comes out with a few moist crumbs.
Remove the pans from the oven and allow the cakes to cool for about 10–15 minutes. Carefully turn them out onto wire racks, remove the parchment paper, and let them cool completely.
If the cakes have domed tops, use a serrated knife to level them once fully cooled. Keep the trimmed cake pieces for a small baker’s treat.
Step 4: Prepare the Orange Cheesecake Filling
In a large mixing bowl, beat the softened cream cheese on medium-low speed until completely smooth. Scrape the sides and bottom of the bowl to remove any lumps.
Add the sugar and beat gently until combined. Mix in the sour cream, vanilla extract, orange zest, and orange juice.
Add the eggs one at a time, mixing on low speed after each addition. Avoid beating the mixture excessively, as too much incorporated air can cause the cheesecake to rise unevenly and collapse as it cools.
Finally, add the flour and mix just until incorporated. The finished batter should be thick, creamy, and free from visible lumps.
Step 5: Bake the Orange Cheesecake Layer
Pour the cheesecake mixture into the prepared springform pan. Smooth the top with a spatula to create an even surface.
Place the pan in the preheated oven and bake at 325°F (160°C) for approximately 50–65 minutes. The outer edges should appear set, while the center should still have a slight wobble when the pan is gently moved.
If using a water bath, wrap the outside of the springform pan securely with heavy-duty foil and place it in a larger baking pan containing hot water. Keep the water below the top edge of the foil.
When the cheesecake is ready, turn off the oven and leave the door slightly open for around 30 minutes. Remove the cheesecake and allow it to cool further at room temperature.
Once cooled, cover and refrigerate for at least 4–6 hours, preferably overnight, until completely firm.
Step 6: Prepare the Chocolate Ganache
Finely chop the dark or semisweet chocolate and place it in a heatproof bowl.
Pour the heavy cream into a small saucepan and heat over medium-low heat until steaming and just beginning to simmer around the edges. Do not allow it to boil vigorously.
Pour the warm cream over the chopped chocolate and leave it undisturbed for approximately 3 minutes. Slowly stir from the center outward until the chocolate has melted and the mixture becomes smooth and glossy.
Add the optional butter and stir until incorporated.
Allow the ganache to cool at room temperature until it reaches a thick but spreadable consistency. If it becomes too firm, gently warm it for a few seconds and stir again.
Step 7: Assemble the Cake Layers
Place one cooled chocolate sponge layer on a cake board or serving plate. Spread a thin layer of chocolate ganache over the top.
Carefully release the chilled cheesecake from the springform pan. If necessary, trim the edges gently so that the cheesecake matches the diameter of the chocolate sponge.
Place the cheesecake directly on top of the first sponge layer, aligning the edges. Spread a very thin layer of ganache over the cheesecake if desired to help the upper sponge adhere.
Position the second chocolate sponge layer on top of the cheesecake. Press gently to ensure the layers are stable without compressing the cake.
Check that the entire cake is centered and that the sides are relatively even.
Step 8: Frost and Decorate the Cake
Spread a thin crumb coat of ganache over the top and sides of the cake using an offset spatula. This first layer helps catch loose crumbs and creates a smooth base for the final coating.
Refrigerate the cake for approximately 20–30 minutes, or until the crumb coat has firmed up.
Apply the remaining ganache, smoothing the top and sides. For a more decorative finish, create gentle swirls with the back of a spoon or use a cake scraper for a smooth surface.
Finish with chocolate curls, candied orange slices, chocolate orange segments, or freshly grated orange zest.
Step 9: Chill Before Serving
Refrigerate the completed cake for at least 1–2 hours to allow the layers and ganache to firm up.
When ready to serve, use a sharp knife warmed in hot water and wiped dry between slices. This will help reveal the distinct chocolate sponge and orange cheesecake layers.
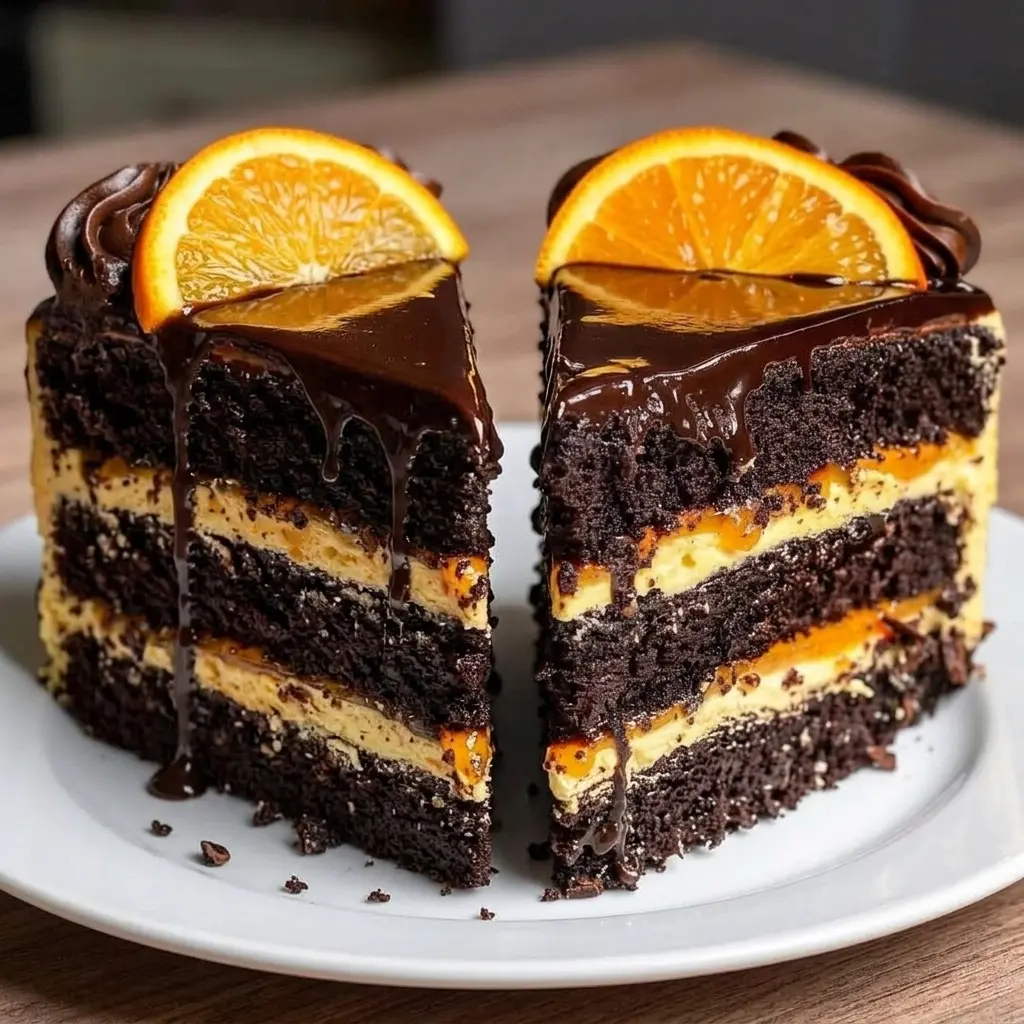
Delicious Variations of Chocolate Orange Cheesecake Layer Cake
Dark Chocolate Orange Cheesecake Cake
For a more intense chocolate flavor, use dark chocolate with a higher cocoa percentage in the ganache. You can also replace some of the cocoa powder in the sponge with a darker variety, provided it is suitable for baking.
Pair the dark chocolate with freshly grated orange zest for a pronounced contrast between the rich cocoa and fragrant citrus.
Chocolate Orange Cheesecake Cake with Chocolate Orange Segments
If you enjoy the familiar combination of chocolate and orange-flavored confectionery, decorate the cake with chocolate orange segments.
You can also finely chop a small quantity and fold it into the ganache once it has cooled slightly. Keep the pieces small so they do not interfere with spreading the coating.
Chocolate Orange Cake with Chocolate Buttercream
Replace the ganache coating with homemade chocolate buttercream for a softer, sweeter finish.
Beat softened butter with powdered sugar, cocoa powder, vanilla extract, and a little milk or cream until light and fluffy. Spread the buttercream over the chilled cake, then decorate with chocolate curls and orange zest.
No-Bake Orange Cheesecake Layer Cake
For a version without a baked cheesecake layer, prepare a no-bake orange cheesecake filling using cream cheese, sugar, orange zest, and whipped cream, with a suitable setting agent.
Spread the filling into a lined pan and refrigerate until completely set. Assemble it between the cooled chocolate sponge layers, taking extra care to ensure the cheesecake is firm enough to support the top layer.
Gluten-Free Chocolate Orange Cheesecake Cake
To make a gluten-free version, use a suitable gluten-free flour blend in the chocolate sponge and replace the small quantity of flour in the cheesecake with a gluten-free alternative.
Follow the instructions provided with your flour blend, as different products can absorb liquid differently. Check the labels of your chocolate, cocoa powder, and other ingredients to ensure they meet your requirements.
Frequently Asked Questions
Can I Make Chocolate Orange Cheesecake Layer Cake the Day Before?
Yes! This cake is particularly convenient to prepare in advance. Bake the chocolate sponge and cheesecake layers a day ahead, then assemble the cake and refrigerate it overnight. The chilling time helps the layers become firm and makes slicing easier.
How Do I Stop My Orange Cheesecake Layer from Cracking?
Use room-temperature ingredients, avoid overmixing the batter, and bake the cheesecake until the edges are set but the center still has a slight wobble. Allow it to cool gradually before refrigerating. A water bath can also help maintain even baking.
Can I Use Orange Extract Instead of Fresh Orange Zest?
Yes, orange extract can replace fresh orange zest if necessary. However, fresh zest provides a fragrant citrus aroma and a more natural orange flavor. If using extract, start with a small amount and adjust according to your taste.
What Type of Chocolate Is Best for Chocolate Orange Cheesecake Cake?
Dark chocolate and semisweet chocolate are both excellent choices for ganache. Dark chocolate creates a deeper, less sweet finish, while semisweet chocolate offers a milder flavor. Milk chocolate can also be used if you prefer a sweeter coating.
Does Chocolate Orange Cheesecake Layer Cake Need to Be Refrigerated?
Yes. The cake contains cream cheese and other perishable ingredients, so it should be stored in the refrigerator in a covered container. Refrigeration also helps the cheesecake layer and ganache maintain their structure.
Conclusion
This Chocolate Orange Cheesecake Layer Cake brings together everything you could want in a homemade celebration dessert: moist chocolate sponge, creamy orange cheesecake, and a rich, glossy chocolate ganache. The combination of deep chocolate flavor and fragrant orange creates a beautiful contrast in every slice, while the distinct layers make the finished cake an impressive centerpiece.