
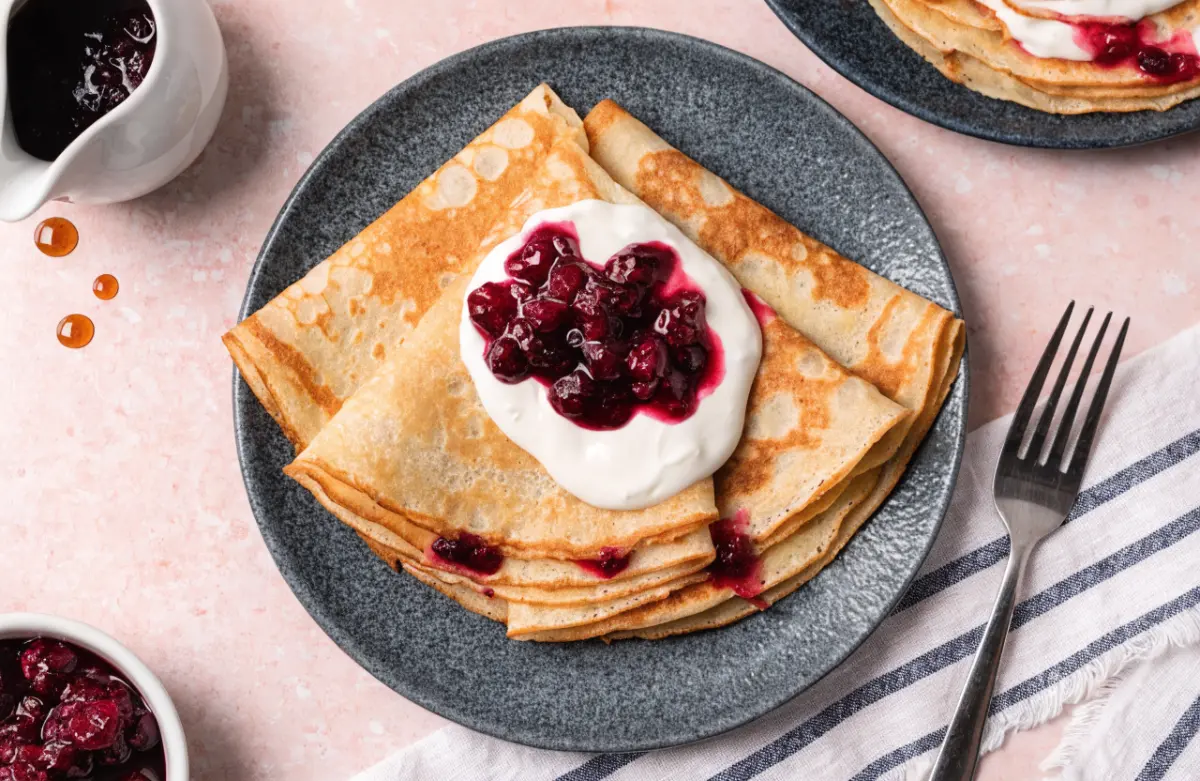
What Are Swedish Pancakes Recipe?
Swedish pancakes, known in Sweden as Pannkakor, are thin, soft pancakes traditionally served for breakfast, brunch, dessert, or even as part of family dinners. They are one of Sweden’s most treasured comfort foods and are commonly enjoyed with jam, whipped cream, fresh berries, or simply a sprinkle of powdered sugar.
Although they resemble French crêpes, Swedish pancakes have their own unique character. They contain a richer ratio of eggs and milk, giving them an incredibly soft texture and delicate flavor. Their slightly buttery taste makes them delicious even with the simplest toppings.
For many Swedish families, these pancakes are associated with celebrations, weekend gatherings, and cherished family traditions. They’re often served on Thursdays after soup dinners, a custom that has been passed down through generations.
The History of Swedish Pancakes
The tradition of making Swedish pancakes dates back hundreds of years. Early versions were prepared over open fires using cast-iron pans, long before modern stovetops became common. Over time, families refined the recipe into the thin, buttery pancakes we know today.
Today, you’ll find Swedish pancakes served in:
- Family kitchens
- Scandinavian cafés
- Holiday breakfasts
- Weekend brunches
- Cultural festivals
- Traditional Swedish restaurants
Their enduring popularity comes from their simplicity, versatility, and comforting homemade flavor.
Why You’ll Love This Swedish Pancakes Recipe
There are countless pancake recipes available, but this authentic Swedish Pancakes Recipe stands out because it combines traditional techniques with simple ingredients that anyone can find.
Here’s why you’ll love making these pancakes.
They’re Surprisingly Easy
Despite their elegant appearance, the batter comes together in just a few minutes.
Simple Pantry Ingredients
Everything you need is probably already in your kitchen.
- Flour
- Eggs
- Milk
- Butter
- Sugar
- Salt
- Vanilla (optional)
Beautiful Thin Texture
The batter spreads easily across the pan, creating the signature paper-thin pancakes that Sweden is famous for.
Perfect for Any Occasion
These pancakes work wonderfully for:
- Breakfast
- Weekend brunch
- Afternoon coffee
- Family gatherings
- Holiday breakfasts
- Light desserts
Endless Topping Possibilities
You can enjoy them with nearly any sweet topping.
Favorites include:
- Berry jam
- Fresh fruit
- Whipped cream
- Honey
- Chocolate spread
- Cinnamon sugar
- Caramel sauce
Beginner Friendly
Even if you’ve never made thin pancakes before, the techniques in this guide are simple enough for first-time cooks.
Ingredients You’ll Need for Swedish Pancakes Recipe
One of the reasons Swedish pancakes have remained popular for centuries is their simplicity. Every ingredient contributes to the pancakes’ delicate texture and buttery flavor.
For the Swedish Pancakes
- 2 cups all-purpose flour
- 3 large eggs, room temperature
- 2½ cups whole milk, room temperature
- 2 tablespoons unsalted butter, melted (plus more for greasing the pan)
- 1 tablespoon granulated sugar
- ¼ teaspoon salt
- 1 teaspoon pure vanilla extract (optional)
Optional Flavor Additions
- ½ teaspoon ground cardamom
- 1 teaspoon finely grated lemon zest
- ½ teaspoon almond extract
- ½ teaspoon ground cinnamon
Traditional Toppings
- Lingonberry jam
- Fresh strawberries, sliced
- Fresh blueberries
- Fresh raspberries
- Whipped cream
- Powdered sugar
- Maple syrup
- Honey
- Butter
- Mixed berry compote
- Chocolate spread (optional)
- Caramel sauce (optional)
Optional Garnishes
- Fresh mint leaves
- Lemon wedges
- Extra powdered sugar
- Additional fresh berries for serving
Kitchen Equipment
Fortunately, you don’t need specialized equipment to prepare an authentic Swedish Pancakes Recipe.
The following tools make the process easier.
Mixing Bowl
A medium or large bowl gives enough room for whisking.
Whisk
Essential for creating a lump-free batter.
Blender (Optional)
Many Scandinavian cooks use a blender because it produces an exceptionally smooth batter in seconds.
Measuring Cups and Spoons
Accurate measurements help ensure consistent results every time.
Nonstick Skillet
A quality nonstick pan is ideal for beginners.
Crepe Pan
If you make Swedish pancakes frequently, a crepe pan offers:
- Even heat
- Thin edges
- Easier flipping
Thin Flexible Spatula
Perfect for lifting delicate pancakes without tearing.
Ladle or Measuring Cup
Helps pour the same amount of batter for every pancake.
Cooling Rack or Plate
Keeps finished pancakes warm while you continue cooking.
How to Make the Perfect Batter
The batter is the heart of every successful Swedish Pancakes Recipe. A smooth, lump-free mixture creates beautifully thin pancakes that cook evenly and roll effortlessly.
Step 1: Combine the Dry Ingredients
In a large bowl, whisk together:
- Flour
- Sugar
- Salt
Mixing the dry ingredients first helps distribute everything evenly before adding the wet ingredients.
Step 2: Add the Eggs
Crack the eggs into the bowl and whisk gently until combined.
The mixture will become thick at this stage.
Step 3: Slowly Add the Milk
Pour the milk in gradually while whisking continuously.
Adding it slowly helps prevent lumps and creates a silky batter.
Step 4: Stir in Melted Butter
Allow the butter to cool slightly before mixing it into the batter.
This keeps the eggs from cooking prematurely.
Step 5: Add Vanilla (Optional)
If using vanilla, stir it in now.
Step 6: Check the Batter Consistency
The finished batter should be:
- Smooth
- Thin
- Pourable
- Free of lumps
It should easily coat the back of a spoon before running off smoothly.
Step 7: Rest the Batter
Allow the batter to rest for 20–30 minutes.
Resting helps:
- Relax the flour
- Improve texture
- Reduce bubbles
- Make flipping easier
Step-by-Step Instructions for Swedish Pancakes Recipe
Making Swedish pancakes is all about technique. Once you’ve mastered the first few steps, the rest becomes effortless.
Step 1: Prepare Your Workspace
Before heating the pan:
- Measure all ingredients.
- Rest the batter.
- Melt additional butter if needed.
- Gather your spatula and ladle.
Having everything ready makes cooking much smoother.
Step 2: Preheat the Pan
Place your nonstick skillet or crepe pan over medium heat.
The pan should be hot enough for the batter to sizzle gently but not so hot that it browns instantly.
Step 3: Lightly Butter the Pan
Using a pastry brush or paper towel, spread a very thin layer of melted butter across the cooking surface.
Too much butter can create uneven browning, so a light coating is all you need.
Step 4: Stir the Batter
Give the rested batter a gentle stir before pouring.
This redistributes any ingredients that may have settled without adding excess air.
Step 5: Pour the Batter
Using a ladle or measuring cup, pour a small amount of batter into the center of the hot pan.
Immediately lift the pan and swirl it in a circular motion so the batter spreads into a thin, even layer.
A properly swirled pancake should cover most of the pan while remaining delicate and uniform.
Step 6: Let the First Side Cook
Allow the pancake to cook undisturbed until the surface looks mostly set and the edges begin to loosen from the pan. Small bubbles may appear, and the underside should develop a light golden color. Avoid moving or flipping the pancake too early, as it can tear before it has fully set.
Step 7: Flip the Pancake Carefully
Once the edges begin to lift naturally from the pan and the center is mostly set, gently slide a thin spatula underneath the pancake.
- Lift carefully to avoid tearing.
- Flip in one smooth, confident motion.
- If you’re comfortable, you can even toss the pancake with a quick flick of the wrist.
The second side cooks much faster than the first, so keep a close eye on it.
Step 8: Cook the Second Side
Allow the pancake to cook for 20–30 seconds, just until lightly golden.
Avoid overcooking, as this can make the pancakes less tender.
You’re looking for:
- Light golden spots
- Soft texture
- Flexible edges
- Even color
Step 9: Transfer to a Plate
Carefully slide the finished pancake onto a serving plate.
If you’re making several pancakes, stack them directly on top of one another. The gentle steam created between each pancake helps keep them soft and prevents them from drying out.
Step 10: Repeat with Remaining Batter
Before pouring the next pancake:
- Lightly butter the pan if necessary.
- Give the batter a gentle stir.
- Pour the same amount of batter each time for even-sized pancakes.
Continue until all the batter has been used.
Step 11: Keep the Pancakes Warm
If serving everyone at once, keep the finished pancakes warm while the remaining batter cooks.
Some easy methods include:
- Place them on an oven-safe plate in a warm oven.
- Cover loosely with foil.
- Stack them with parchment paper if making a large batch.
Step 12: Fold or Roll Before Serving
Traditional Swedish pancakes are rarely served flat.
Instead, you can:
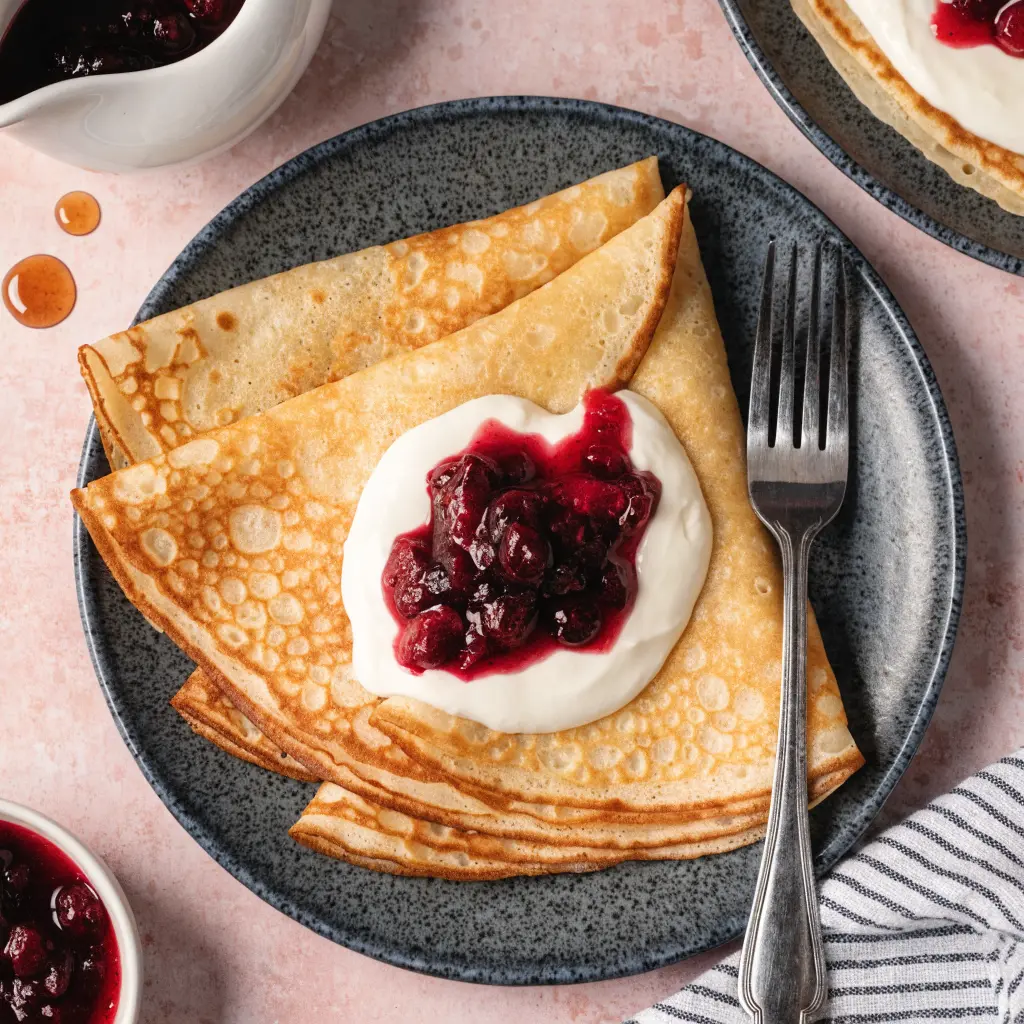
- Fold them into triangles.
- Roll them around jam.
- Stack them neatly.
- Arrange them on a serving platter with toppings.
The soft texture makes them easy to shape without cracking.
Common Mistakes to Avoid
Even experienced cooks occasionally run into problems when making Swedish pancakes. Fortunately, they’re easy to avoid once you know what to watch for.
Using Batter That Is Too Thick
A thick batter produces heavy pancakes that won’t spread properly.
The batter should pour easily.
Cooking on High Heat
A pan that’s too hot can cause the pancakes to brown before the center is fully cooked.
Stick with medium heat for the best results.
Skipping the Batter Rest
Freshly mixed batter often creates bubbles and uneven cooking.
Resting helps the flour absorb the liquid for a smoother texture.
Pouring Too Much Batter
Only a small amount is needed.
Too much batter results in thick pancakes rather than the traditional thin style.
Flipping Too Early
If the center is still wet, the pancake may tear.
Wait until the edges naturally release from the pan.
Overcooking
The second side needs only a few seconds.
Cooking too long can make the pancakes less tender.
Forgetting to Stir the Batter
A quick stir every few pancakes keeps the consistency even from start to finish.
Delicious Variations
Once you’ve mastered the classic Swedish Pancakes Recipe, try experimenting with different flavors.
Lemon Swedish Pancakes
Add:
- Fresh lemon zest
- A splash of lemon juice
Serve with berries and powdered sugar.
Vanilla Swedish Pancakes
Increase the vanilla slightly for a warm, bakery-style flavor.
Cardamom Swedish Pancakes
Ground cardamom is a traditional Scandinavian spice that pairs beautifully with these pancakes.
Cinnamon Swedish Pancakes
Mix a little cinnamon into the batter for cozy flavor.
Perfect during cooler months.
Almond Swedish Pancakes
A few drops of almond extract create a delicate Scandinavian-inspired variation.
Berry Swedish Pancakes
Fold fresh berries into the finished pancakes or serve them as a colorful topping.
Popular choices include:
- Strawberries
- Blueberries
- Raspberries
- Blackberries
Chocolate Swedish Pancakes
Serve with:
- Chocolate spread
- Chocolate sauce
- Chocolate shavings
Festive Holiday Pancakes
Dress them up with:
- Cranberry preserves
- Orange zest
- Cinnamon sugar
- Whipped cream
Storage Instructions
If you have leftover Swedish pancakes, storing them properly helps maintain their soft texture and delicate flavor.
Refrigerating
Allow the pancakes to cool completely before storing.
Then:
- Stack them with parchment paper between each pancake.
- Place them in an airtight container.
- Refrigerate for up to 3 days.
Reheating
Warm the pancakes gently in:
- A non-stick skillet over low heat.
- The microwave for a few seconds.
- A low-temperature oven until heated through.
Avoid overheating, which may dry out the pancakes.
Freezing Guide
Swedish pancakes freeze beautifully, making them ideal for busy mornings or meal planning.
How to Freeze
- Cool the pancakes completely.
- Place parchment paper between each pancake.
- Stack them carefully.
- Store them in a freezer-safe container or freezer bag.
They can be frozen for up to 2 months.
Reheating from Frozen
You can reheat them directly from frozen by using:
- A warm skillet.
- A low oven.
- The microwave.
Separate the pancakes gently as they warm.
Make-Ahead Tips
This Swedish Pancakes Recipe is perfect for preparing in advance.
Prepare the Batter Early
Mix the batter the night before and store it in the refrigerator.
Before cooking:
- Stir gently.
- Check the consistency.
- Add a splash of milk if it has thickened slightly.
Cook Ahead
The pancakes can also be cooked several hours in advance.
Simply:
- Stack them.
- Cover with foil.
- Reheat just before serving.
Prepare the Toppings
Wash fruit, whip cream, and organize toppings ahead of time for effortless serving.
Frequently Asked Questions
Why are Swedish pancakes thinner than American pancakes?
They use a thinner batter and do not contain baking powder, which creates their signature delicate texture.
Are Swedish pancakes the same as crêpes?
Not exactly. While they look similar, Swedish pancakes are generally softer, richer, and slightly more buttery.
Can I make the batter in advance?
Yes. The batter can be refrigerated overnight. Stir gently before using.
Why are my pancakes sticking?
Common causes include:
- Pan not hot enough
- Too little butter
- Worn non-stick coating
Why are my pancakes tearing?
Usually because:
- They’re flipped too early.
- The batter is too thin.
- The pan isn’t fully heated.
Conclusion
This authentic Swedish Pancakes Recipe brings a taste of Scandinavian tradition straight to your kitchen. With their delicate texture, buttery flavor, and endless serving possibilities, these thin pancakes are a timeless favorite for breakfast, brunch, or dessert.