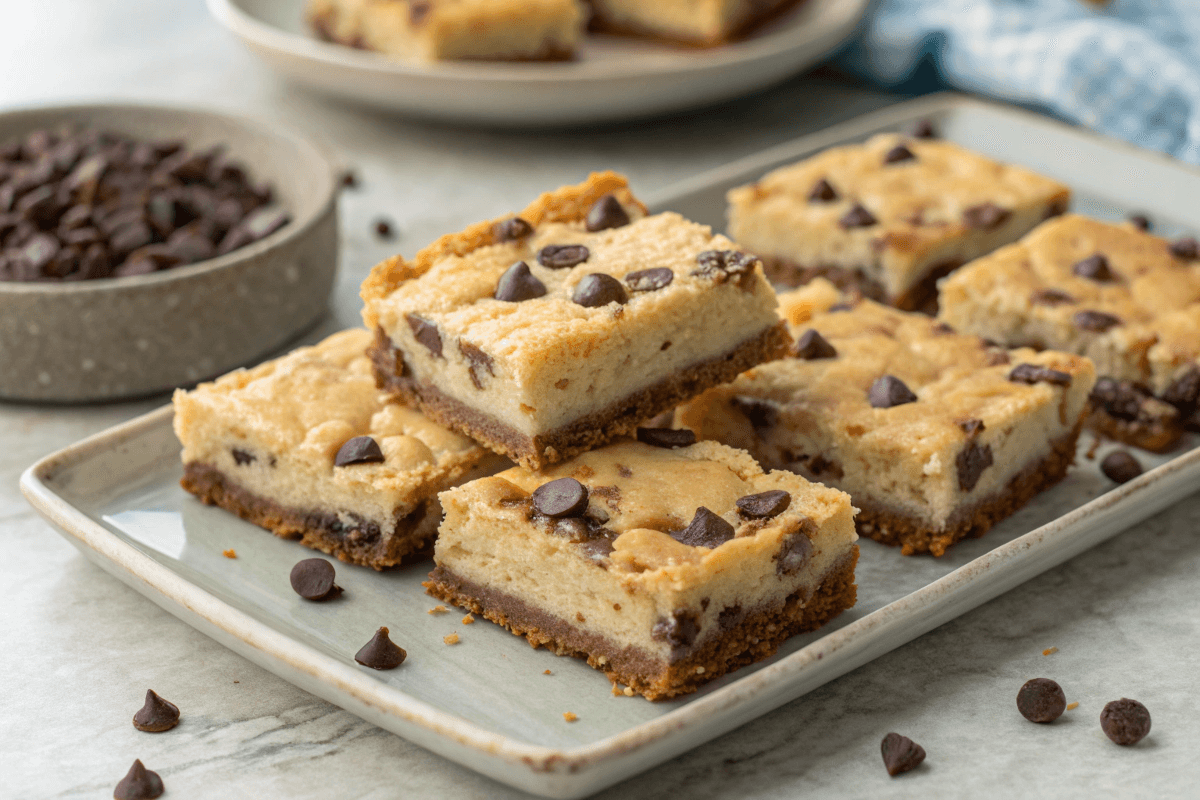
Introduction to Chocolate Chip Cheesecake Bars
There’s nothing quite as indulgent as a rich, creamy slice of cheesecake, but what if you could combine that decadence with the classic appeal of chocolate chip cookie bars? That’s where Chocolate Chip Cheesecake Bars come in—a delightful fusion of cookie dough and cheesecake filling that’s both easy to make and irresistibly delicious.
Ingredients for Chocolate Chip Cheesecake Bars
Creating the perfect batch of Chocolate Chip Cheesecake Bars begins with selecting the finest ingredients and ensuring you have the right equipment. Every element, from the base to the finishing touches, contributes to the overall experience of the dessert.
Essential Ingredients
- Cream Cheese:
- Choose full-fat, high-quality cream cheese for a rich and smooth texture.
- Sugar:
- Granulated sugar blends perfectly with cream cheese to create a creamy mixture.
- Eggs:
- Use large eggs, ensuring they are at room temperature for optimal consistency.
- Vanilla Extract:
- A splash of pure vanilla enhances the overall flavor profile.
- Chocolate Chips:
- Use your favorite chocolate chips – whether milk, dark, or a mix – to add delightful pockets of chocolate.
- Crust Ingredients:
- Common choices include crushed cookies or graham crackers, mixed with melted butter to form a sturdy base.
Essential Equipment
- Mixing Bowls & Electric Mixer:
- An electric mixer helps achieve a smooth, lump-free batter.
- Baking Pan:
- A rectangular baking pan is ideal for even baking.
- Spatulas & Measuring Cups:
- Accurate measurements and thorough mixing are key to success.
- Cooling Rack:
- Proper cooling prevents condensation and ensures the perfect texture.
Using these ingredients and tools will set you up for success as you embark on the journey of creating these exquisite bars.
Step-by-Step Preparation for Chocolate Chip Cheesecake Bars
This section provides a step-by-step guide to mastering the art of making Chocolate Chip Cheesecake Bars. Each part of the recipe is broken down into manageable steps to ensure that even novice bakers can follow along with confidence.
1. Preparing the Crust
Creating a robust and flavorful crust is the foundation of these bars. A well-made crust provides both texture and stability to the dessert.
- Ingredients for the Crust:
- Crushed cookies or graham crackers
- Melted butter
- A pinch of salt (optional)
- Steps:
- Mixing: Combine the crushed cookies with melted butter until evenly coated.
- Pressing: Firmly press the mixture into the base of your baking pan.
- Tip: Use the back of a measuring cup to ensure an even layer.
- Pre-baking (optional): For an extra-crisp crust, bake for 5-10 minutes before adding the cheesecake layer.
2. Cheesecake Mixture Preparation
Achieving the perfect texture in the cheesecake mixture is crucial. The following steps will help you create a smooth and velvety base that complements the crunch of the crust and the burst of chocolate chips.
- Ingredients for the Cheesecake Mixture:
- Cream cheese
- Granulated sugar
- Eggs
- Vanilla extract
- Steps:
- Softening the Cream Cheese: Allow cream cheese to come to room temperature.
- Mixing: Using an electric mixer, beat the cream cheese until smooth.
- Incorporating Sugar: Gradually add the sugar, ensuring it dissolves completely into the cream cheese.
- Adding Eggs: Beat in the eggs one at a time, mixing thoroughly after each addition.
- Flavor Enhancement: Stir in the vanilla extract for an aromatic touch.
- Important Techniques:
- Avoid overmixing once the eggs are added to prevent incorporating too much air.
- Scrape down the bowl frequently to ensure an even consistency.
Pro Tip: If you prefer a slightly tangier flavor, you can experiment with a small amount of sour cream in place of a portion of the cream cheese.
3. Incorporating Chocolate Chips
Now that your cheesecake mixture is silky smooth, it’s time to add the star of the show: chocolate chips. Their rich flavor and slight crunch elevate the overall experience of these bars.
- Steps:
- Folding: Gently fold in the chocolate chips into the cheesecake mixture.
- Tip: Use a spatula to ensure the chips are evenly distributed without deflating the mixture.
- Avoid Overmixing: Be cautious not to stir too vigorously, as this may cause the chips to sink.
- Folding: Gently fold in the chocolate chips into the cheesecake mixture.
Key Point: The goal is to have a delightful balance where each bite offers a taste of creamy cheesecake and the subtle crunch of chocolate chips.
4. Assembly & Baking Instructions
With your crust and cheesecake mixture ready, the next step is to combine them and bake to perfection.
- Steps:
- Layering: Pour the cheesecake mixture over the prepared crust, ensuring an even spread.
- Topping (Optional): Sprinkle a few extra chocolate chips on top for added texture and visual appeal.
- Baking: Place the pan in a preheated oven and bake at the recommended temperature.
- Baking Time: Typically, bake for 25-35 minutes or until the edges are set and the center has a slight jiggle.
- Cooling: Once baked, allow the bars to cool in the pan. This step is crucial as it helps the bars set, ensuring clean, crisp slices.
- Chilling: For the best results, refrigerate the bars for at least 2 hours before serving.
- Baking Tips:
- Use an oven thermometer to ensure your oven’s temperature is accurate.
- Avoid opening the oven frequently during baking, as this can cause fluctuations in temperature and affect the outcome.
Variations & Customizations
One of the best things about Chocolate Chip Cheesecake Bars is their versatility. There are countless ways to personalize this dessert to suit your preferences or to match the occasion.
Creative Variations
- Alternative Crusts:
- Cookie Crust: Replace traditional graham crackers with crushed cookies for a richer flavor.
- Nutty Crust: Add finely chopped nuts to the crust for extra crunch.
- Flavor Twists:
- Swirls: Create a marbled effect by swirling in caramel or peanut butter.
- Different Chocolates: Experiment with various types of chocolate chips, such as dark, milk, or even white chocolate.
- Seasonal Adjustments:
- Festive Touches: Incorporate seasonal spices such as cinnamon or nutmeg during the fall.
- Holiday Variations: For special occasions, add edible gold dust or colored sprinkles to enhance the festive look.
Customization Tips
- Baking Equipment Adjustments:
- Adapt the recipe for different pan sizes – remember to adjust the baking time accordingly.
- Use silicone mats or parchment paper to ensure easy removal and clean-up.
- Serving Suggestions:
- Serve these bars at room temperature for the best texture.
- Present on a decorative platter to impress your guests.
- Pair with a selection of homemade sauces like a rich chocolate drizzle or a velvety caramel sauce.
Creative freedom is encouraged, as the base recipe for Chocolate Chip Cheesecake Bars provides endless opportunities for customization. Experimenting with different ingredients and techniques will lead to a dessert that is uniquely yours.
Serving and Storage Recommendations
Serving Suggestions
- Serve chilled for the best texture.
- Pair with a glass of milk, coffee, or hot chocolate.
- Top with a dollop of whipped cream and a sprinkle of chocolate shavings.
Storage Tips
- Refrigerator: Store in an airtight container for up to 5 days.
- Freezer: Wrap bars individually and store for up to 2 months.
- Thawing: Let frozen bars sit at room temperature for 30 minutes before serving.
Frequently Asked Questions (FAQs)
1. Can I use store-bought cookie dough for the crust?
Yes! Pre-made cookie dough works great for a softer, chewier base.
2. How do I prevent the cheesecake layer from cracking?
- Avoid overmixing the batter.
- Bake at a low temperature.
- Let the bars cool gradually before refrigerating.
3. What’s the best way to cut these bars cleanly?
- Use a sharp knife.
- Wipe the blade clean after each cut.
- Chill the bars before slicing.
4. Can I freeze Chocolate Chip Cheesecake Bars?
Absolutely! Just wrap them tightly to prevent freezer burn.
Conclusion
Crafting Chocolate Chip Cheesecake Bars is more than just following a recipe, it’s about blending tradition, creativity, and indulgence into one unforgettable dessert. With their creamy cheesecake layer, crunchy crust, and bursts of chocolate chips, these bars strike the perfect balance of flavor and texture.
Print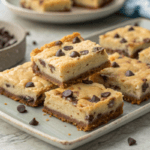
Chocolate Chip Cheesecake Bars Recipe
- Total Time: PT2H
- Yield: 12 bars 1x
- Diet: Vegetarian
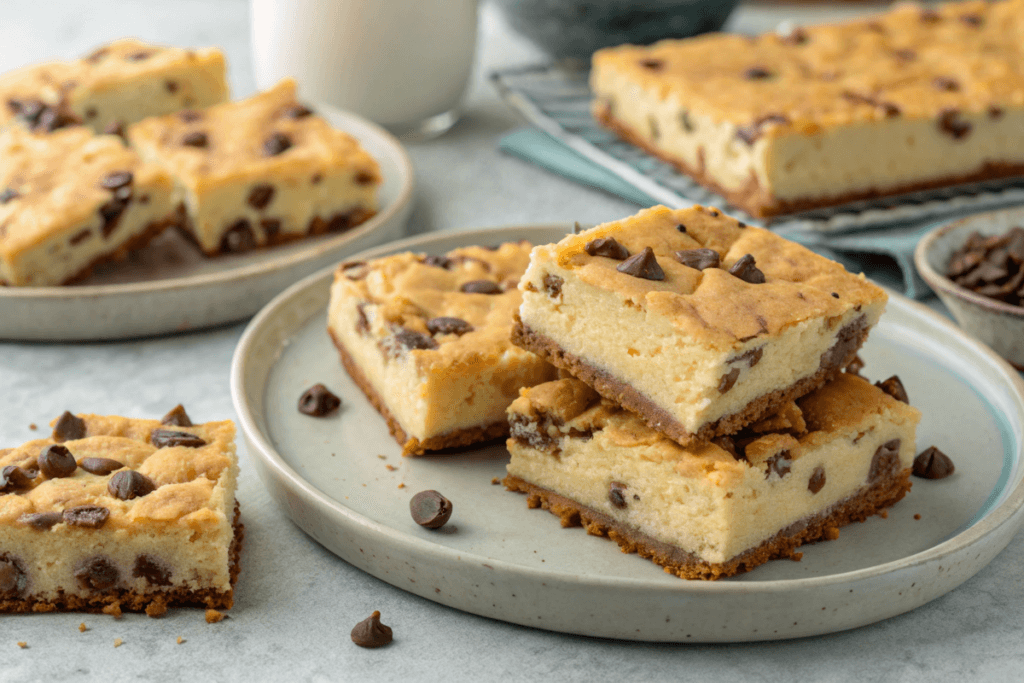
Description
These Chocolate Chip Cheesecake Bars combine a buttery cookie crust with a creamy cheesecake filling, topped with melty chocolate chips. Perfect for parties, bake sales, or a family treat, they deliver all the indulgence of cheesecake in an easy-to-serve bar form.
Ingredients
- For the crust:
- 1 cup (2 sticks) unsalted butter, softened
- 1 cup brown sugar, packed
- ½ cup granulated sugar
- 2 large eggs
- 1 tsp vanilla extract
- 2 ½ cups all-purpose flour
- 1 tsp baking soda
- ½ tsp salt
- 1 ½ cups semisweet chocolate chips
- For the cheesecake filling:
- 16 oz cream cheese, softened
- ½ cup granulated sugar
- 2 large eggs
- 1 tsp vanilla extract
Instructions
- Preheat oven: Set to 350°F (175°C). Line a 9×13-inch baking pan with parchment paper.
- Make the crust: In a bowl, cream butter, brown sugar, and granulated sugar until fluffy. Beat in eggs and vanilla. Mix in flour, baking soda, and salt. Stir in 1 cup of the chocolate chips.
- Press half the dough: Spread half the cookie dough evenly into the bottom of the pan.
- Prepare cheesecake filling: Beat cream cheese, sugar, eggs, and vanilla until smooth. Spread over the cookie dough layer.
- Top with remaining dough: Drop spoonfuls of the rest of the cookie dough over the cheesecake layer, gently spreading. Sprinkle remaining ½ cup chocolate chips on top.
- Bake: Bake for 35–40 minutes, or until golden brown and set in the center.
- Cool & chill: Let cool completely, then refrigerate for at least 2 hours before slicing into bars.
- Prep Time: PT20M
- Cook Time: PT40M
- Category: Dessert
- Method: Baking
- Cuisine: American
Nutrition
- Serving Size: 1 bar
- Calories: 310 kcal
- Sugar: 21g
- Sodium: 180mg
- Fat: 19g
- Saturated Fat: 11g
- Unsaturated Fat: 7g
- Trans Fat: 0g
- Carbohydrates: 32g
- Fiber: 1g
- Protein: 4g
- Cholesterol: 65mg
3 thoughts on “Irresistible 7-Step Chocolate Chip Cheesecake Bars Recipe: Step-by-Step Guide”