What Are Salted Watermelon Sherbet Bars?
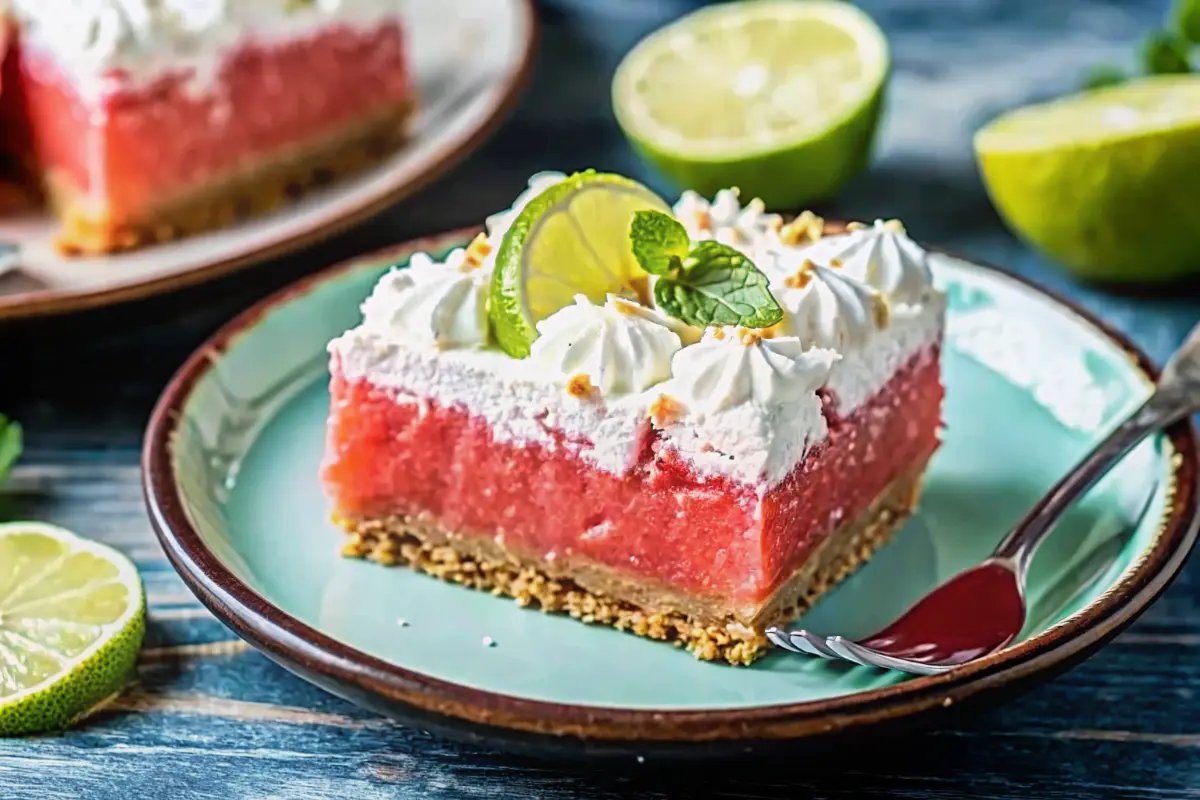
Salted Watermelon Sherbet Bars are a layered frozen dessert made with three main components:
- A buttery, slightly crunchy crust
- A creamy watermelon sherbet center
- A light whipped topping layer
Unlike sorbet, which is dairy-free and icy, sherbet contains a small amount of dairy, giving it a smoother, creamier texture. These bars take that sherbet base and transform it into a sliceable dessert that’s easy to serve at gatherings.
The addition of salt might seem unusual at first, but it plays a crucial role. A pinch of salt enhances the sweetness of watermelon and deepens the overall flavor, making each bite more complex and satisfying.
Why You’ll Love This Recipe
There are plenty of reasons to fall in love with Salted Watermelon Sherbet Bars:
- No-bake simplicity: No oven required—perfect for hot days
- Make-ahead friendly: Prepare in advance and freeze until needed
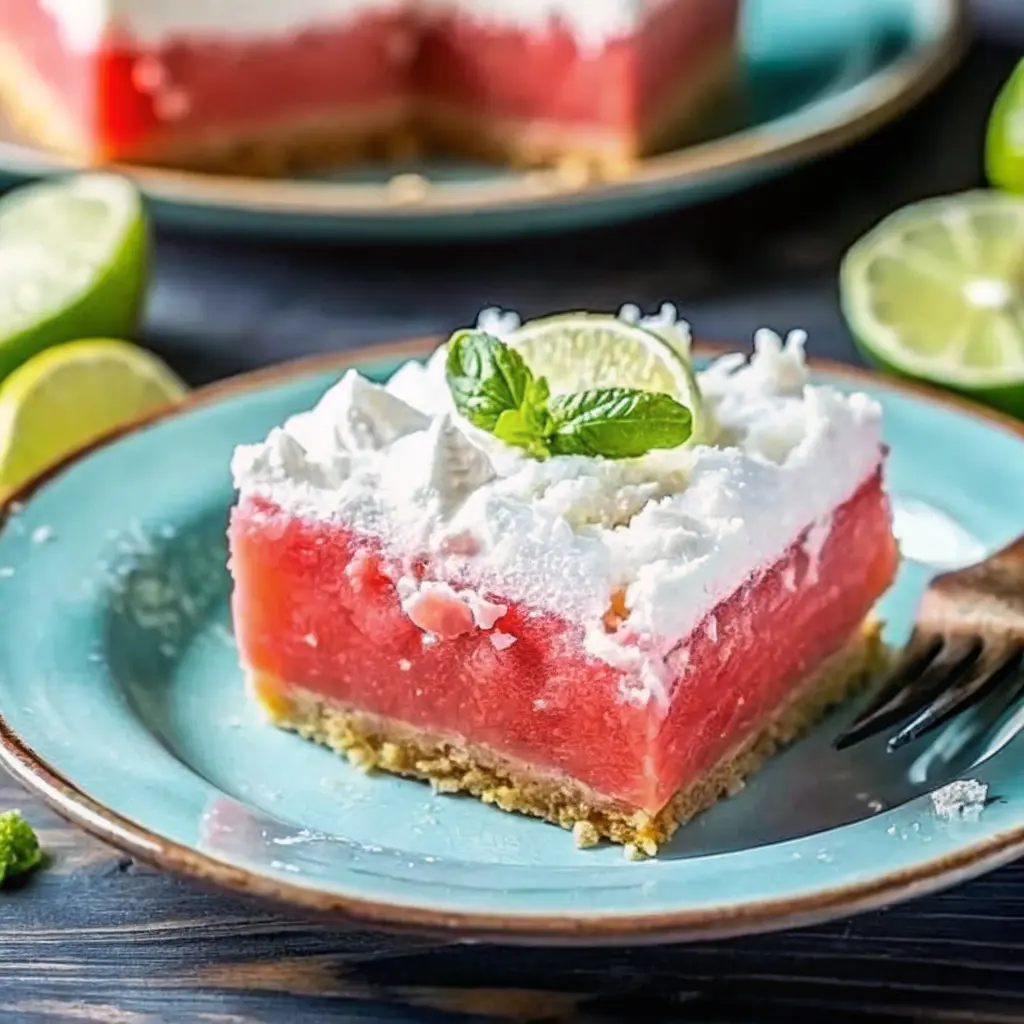
- Visually stunning: Beautiful pink layers make it party-worthy
- Balanced flavor: Sweet, creamy, and slightly salty
- Customizable: Easy to adapt with different fruits or crusts
Whether you’re hosting a summer gathering or just want something refreshing in your freezer, this recipe fits effortlessly into your plans.
Ingredients Breakdown
Understanding your ingredients is key to achieving the perfect Salted Watermelon Sherbet Bars.
For the Crust
- Crushed waffle cones or graham crackers
- Melted butter
- Sugar
- A pinch of salt
The crust provides a crunchy contrast to the creamy layers above. Waffle cones add a subtle caramelized flavor, but graham crackers work just as well.
For the Watermelon Sherbet
- Fresh watermelon (seedless preferred)
- Sugar
- Lime juice
- Salt
- Half-and-half or light cream
The watermelon is the star here. Make sure it’s ripe, juicy, and naturally sweet. Lime juice adds brightness, while salt enhances the fruit’s natural flavor.
For the Whipped Topping
- Heavy cream
- Sugar
- Optional vanilla extract
This layer adds a light, airy finish that balances the denser sherbet below.
Ingredient Tips
- Choose watermelon with a deep red color and a hollow sound when tapped
- Adjust sugar depending on the sweetness of your fruit
- Use full-fat dairy for the creamiest texture
- For a dairy-free option, substitute coconut cream
Kitchen Tools You’ll Need
To make Salted Watermelon Sherbet Bars, gather these tools:
- Blender or food processor
- Mixing bowls
- Hand or stand mixer
- Freezer-safe baking dish (9×13 recommended)
- Spatula
An ice cream maker is helpful but not essential—you can still achieve great results without one.
Step-by-Step Instructions
Step 1: Prepare the Crust
- Combine crushed waffle cones, melted butter, sugar, and salt
- Mix until evenly coated
- Press firmly into a lined baking dish
- Freeze for 15–20 minutes until set
Step 2: Blend the Watermelon
- Cut watermelon into chunks
- Blend until smooth
- Strain through a fine sieve to remove pulp
This step ensures a silky texture in your sherbet.
Step 3: Make the Sherbet Base
- Combine watermelon juice, sugar, lime juice, and salt
- Stir until sugar dissolves
- Add half-and-half and mix thoroughly
Chill the mixture for at least 1 hour before churning.
Step 4: Churn the Sherbet
- Pour mixture into an ice cream maker
- Churn according to manufacturer instructions
No ice cream maker?
- Freeze mixture in a shallow container
- Stir every 30 minutes until creamy
Step 5: Assemble the Bars
- Spread churned sherbet evenly over the crust
- Smooth the surface with a spatula
Step 6: Add Whipped Topping
- Beat cream and sugar until stiff peaks form
- Spread gently over the sherbet layer
Step 7: Freeze
- Freeze for at least 6–8 hours, preferably overnight
- Ensure the bars are fully set before slicing
Common Mistakes to Avoid
Avoid these pitfalls when making Salted Watermelon Sherbet Bars:
- Using unripe watermelon (leads to bland flavor)
- Skipping the chilling step
- Over-churning the sherbet
- Not pressing the crust firmly
- Cutting before fully frozen
Each step contributes to the final texture and flavor, so attention to detail matters.
Variations and Flavor Twists
One of the best things about Salted Watermelon Sherbet Bars is how versatile they are.
Dairy-Free Version
- Replace cream with coconut milk or almond milk
- Use coconut whipped topping
Fruit Variations
- Strawberry-watermelon blend
- Mango-watermelon fusion
- Berry mix for a deeper flavor
Crust Alternatives
- Chocolate cookie crust
- Shortbread base
- Nut-based crust for added texture
Flavor Enhancements
- Add mint for a refreshing twist
- Sprinkle sea salt flakes on top
- Drizzle with fruit syrup before serving
How to Store and Freeze
Proper storage keeps your Salted Watermelon Sherbet Bars tasting fresh:
- Store in an airtight container
- Keep frozen for up to 2–3 weeks
- Cover tightly to prevent freezer burn
For best results, avoid frequent thawing and refreezing.
How to Cut and Serve Perfect Bars
Serving matters just as much as preparation.
- Let bars sit at room temperature for 5–10 minutes
- Use a sharp knife dipped in warm water
- Wipe blade between cuts for clean edges
Garnish ideas:
- Fresh mint leaves
- Lime zest
- Small watermelon cubes
Make-Ahead Tips for Entertaining
Planning ahead makes serving stress-free:
- Prepare bars several days in advance
- Keep them frozen until just before serving
- Transport in a cooler if needed
These bars are ideal for outdoor gatherings because they’re easy to portion and serve.
FAQs About Salted Watermelon Sherbet Bars
What is the difference between sherbet and sorbet?
Sherbet contains a small amount of dairy, making it creamier than sorbet, which is completely dairy-free.
Can I make watermelon sherbet without an ice cream maker?
Yes, you can freeze the mixture and stir it periodically to break up ice crystals.
Why is my sherbet icy instead of creamy?
This usually happens due to low sugar or fat content. Proper balance is essential for smooth texture.
Can I use frozen watermelon?
Yes, but thaw it slightly before blending for better consistency.
How long do sherbet bars last in the freezer?
They can last up to 2–3 weeks when stored properly.
Final Thoughts
Salted Watermelon Sherbet Bars are more than just a dessert—they’re a celebration of summer flavors. With their refreshing taste, creamy texture, and eye-catching appearance, they’re guaranteed to impress anyone who tries them.
Print
Salted Watermelon Sherbet Bars Recipe
- Total Time: PT5H10M
- Yield: 8 bars 1x
- Diet: Vegetarian
Description
Salted Watermelon Sherbet Bars are a vibrant, frozen treat made with fresh watermelon, a touch of citrus, and a hint of salt to enhance the natural sweetness. These icy bars are light, refreshing, and perfect for hot summer days or a fun dessert option.
Ingredients
For the Sherbet
- 4 cups fresh watermelon, cubed and seedless
- ½ cup coconut milk or whole milk
- ⅓ cup sugar (adjust to taste)
- 2 tbsp lime juice
- ½ tsp sea salt
Instructions
Step 1: Prepare the Crust
- Combine crushed waffle cones, melted butter, sugar, and salt
- Mix until evenly coated
- Press firmly into a lined baking dish
- Freeze for 15–20 minutes until set
Step 2: Blend the Watermelon
- Cut watermelon into chunks
- Blend until smooth
- Strain through a fine sieve to remove pulp
This step ensures a silky texture in your sherbet.
Step 3: Make the Sherbet Base
- Combine watermelon juice, sugar, lime juice, and salt
- Stir until sugar dissolves
- Add half-and-half and mix thoroughly
Chill the mixture for at least 1 hour before churning.
Step 4: Churn the Sherbet
- Pour mixture into an ice cream maker
- Churn according to manufacturer instructions
No ice cream maker?
- Freeze mixture in a shallow container
- Stir every 30 minutes until creamy
Step 5: Assemble the Bars
- Spread churned sherbet evenly over the crust
- Smooth the surface with a spatula
Step 6: Add Whipped Topping
- Beat cream and sugar until stiff peaks form
- Spread gently over the sherbet layer
Step 7: Freeze
- Freeze for at least 6–8 hours, preferably overnight
- Ensure the bars are fully set before slicing
- Prep Time: PT10M
- Category: Dessert
- Method: No-Bake
- Cuisine: Fusion
Nutrition
- Serving Size: 1 bar
- Calories: 90 Kcal
- Sugar: 16 g
- Sodium: 120 mg
- Fat: 2 g
- Saturated Fat: 1.5 g
- Unsaturated Fat: 0.3 g
- Trans Fat: 0 g
- Carbohydrates: 20 g
- Fiber: 1 g
- Protein: 1 g
- Cholesterol: 0 mg